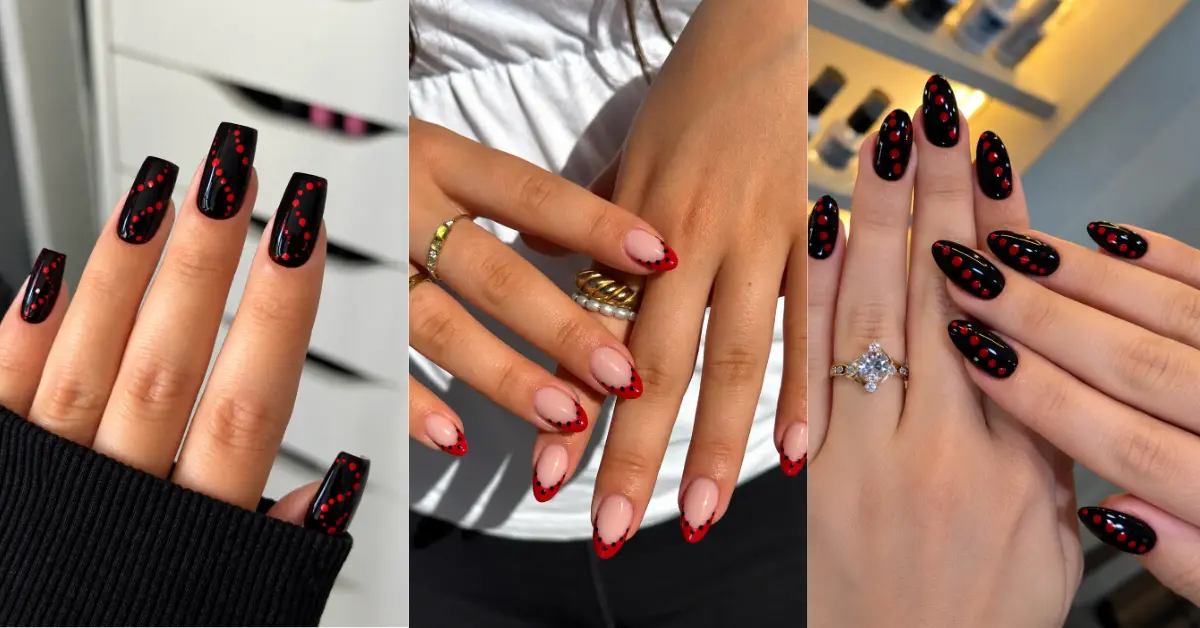
Red and black polka dot nails combine two classic colors in a manicure that can look playful, minimalist, or dramatic. Bright cherry red pops against black polish, while sheer finishes, French tips, and carefully placed dots create different effects.
Keep the pattern tiny on short nails, make a statement with oversized circles, or add a dotted detail to a classic French manicure.
These 19 red-and-black nail designs offer a range of styles, from simple everyday nail art to eye-catching looks for special occasions.
1. Classic Black Nails With Bright Red Polka Dots
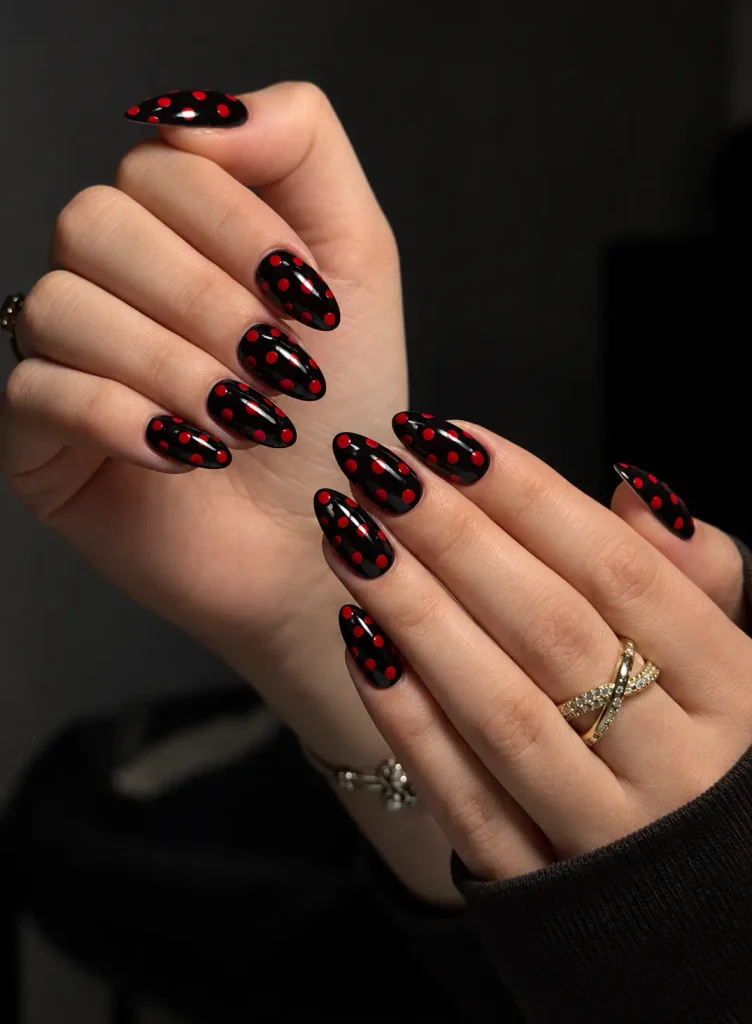
Glossy black polish creates a striking background for evenly spaced red circles.
The high contrast gives this manicure a retro feel without requiring extra decoration.
Keep the dots uniform for a tidy pattern, or vary their placement slightly for a more relaxed look. Both short, rounded nails and longer almond shapes work well with this classic combination.
2. Cherry-Red Nails With Delicate Black Dots
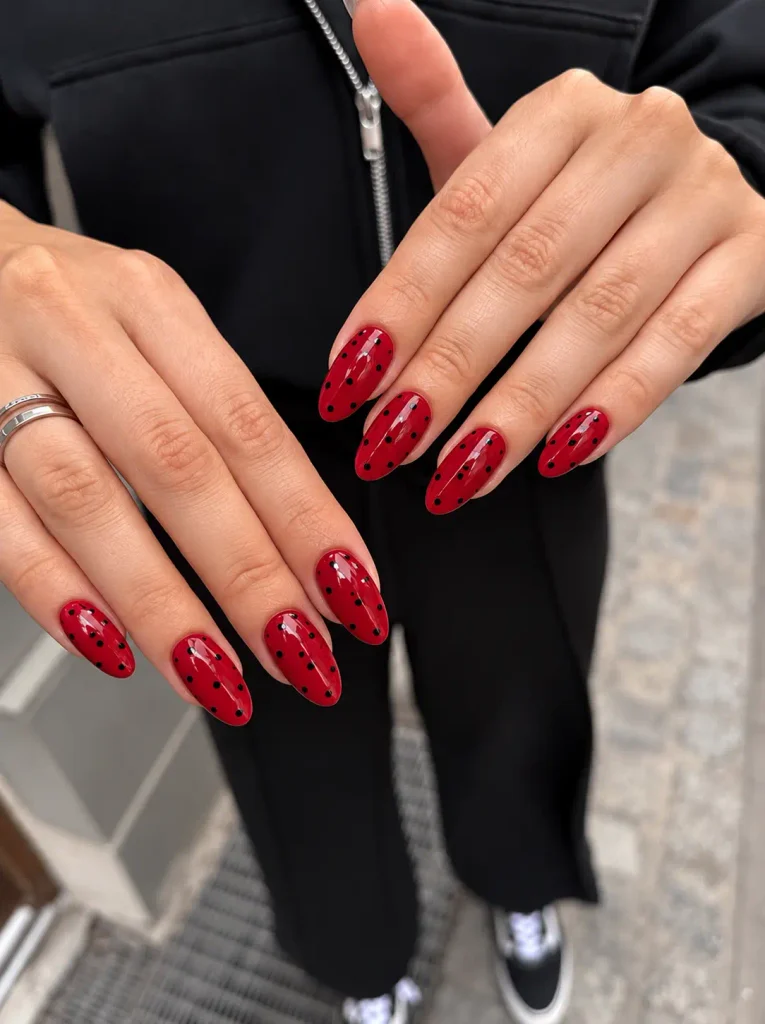
A vivid cherry-red base brightens this version compared to the traditional black-background design. Tiny black dots break up the solid color while keeping the red as the main attraction.
Short square or squoval nails give the pattern a neat, modern finish.
Choose a glossy top coat to bring out the richness of the red polish.
3. Red and Black Nails With Polka-Dot Accent Fingers
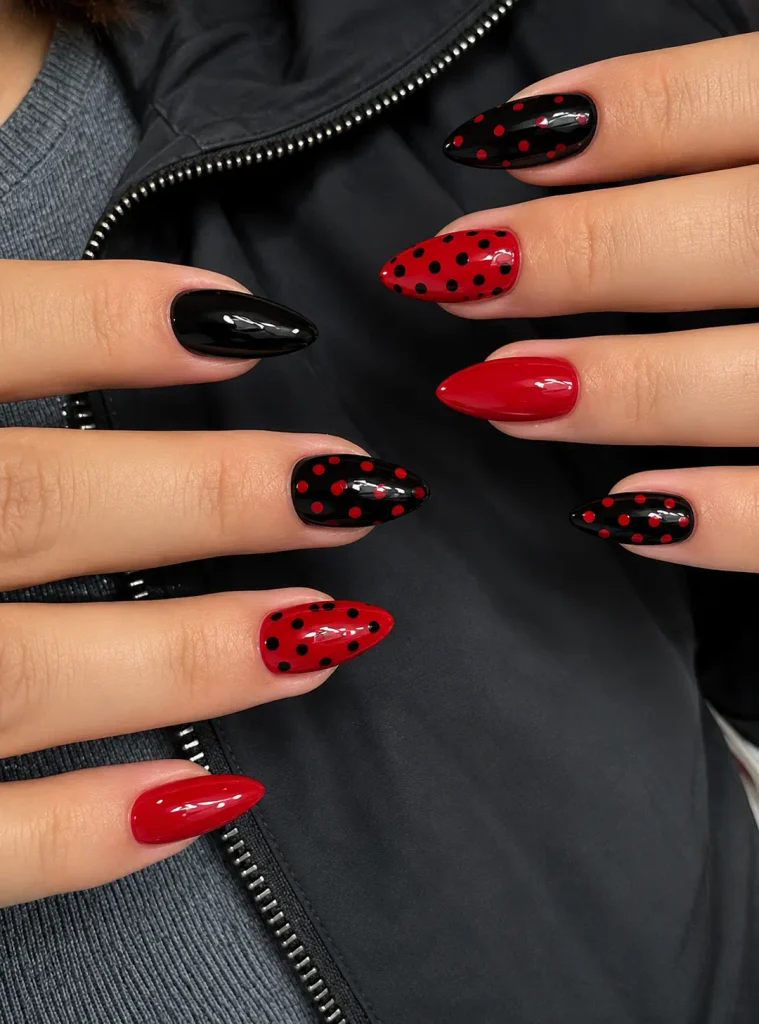
Paint most nails solid red or black, then reserve one or two fingers for polka dots. The patterned nails draw attention while the solid colors prevent the manicure from feeling too busy.
For a coordinated set, use a black base with red dots on one accent nail and a red base with black dots on another.
This approach lets you enjoy two versions of the pattern without decorating every nail.
4. Black French Tips With Red Polka-Dot Details
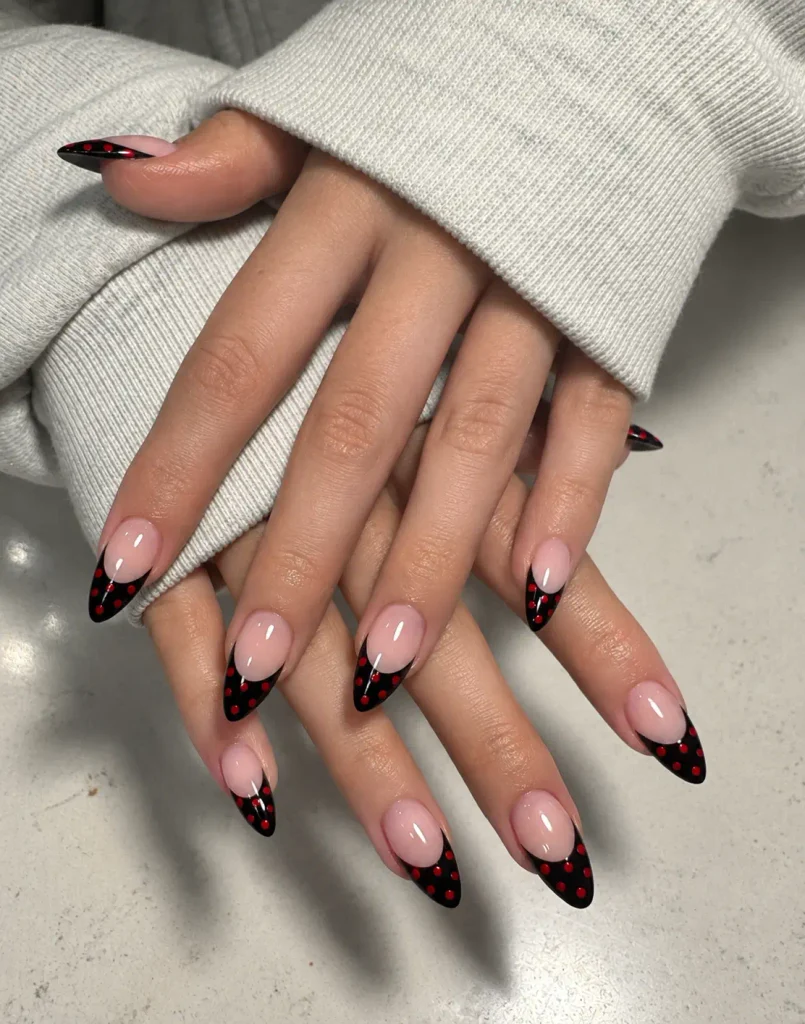
A sheer nude or milky pink base keeps the manicure light, while black French tips provide a defined edge. Add tiny red dots just below the tips or along one side for a small but noticeable detail.
The pattern is concentrated near the ends rather than spread across the nail, making this a distinctive take on polka-dot French tips. Oval and almond shapes complement the curved edges particularly well.
5. Red French Tips With Black Dots Along the Edges
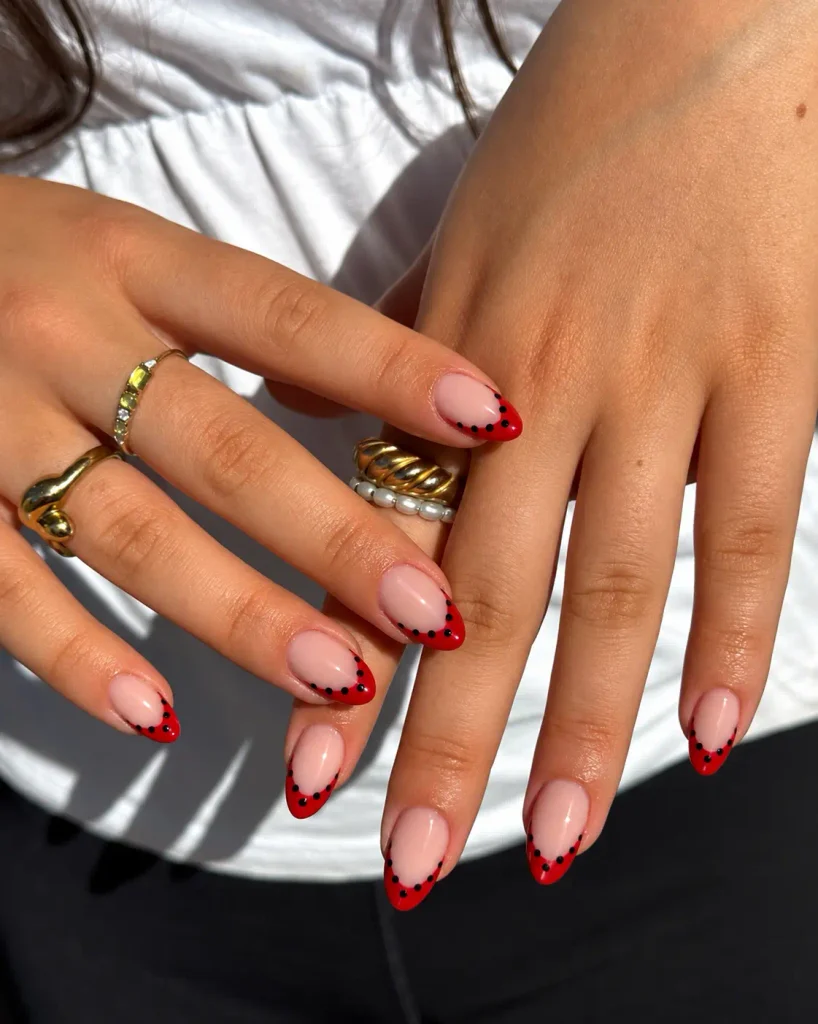
Swap traditional white tips for cherry red, then place tiny black dots along the curved border.
The dark details outline the red tips without overpowering their bright color.
Leave the rest of the nail sheer or nude to keep the design crisp. This is a fresh option for anyone who wants red French tip nails with a little more personality.
6. Minimalist Black Nails With One Red Dot
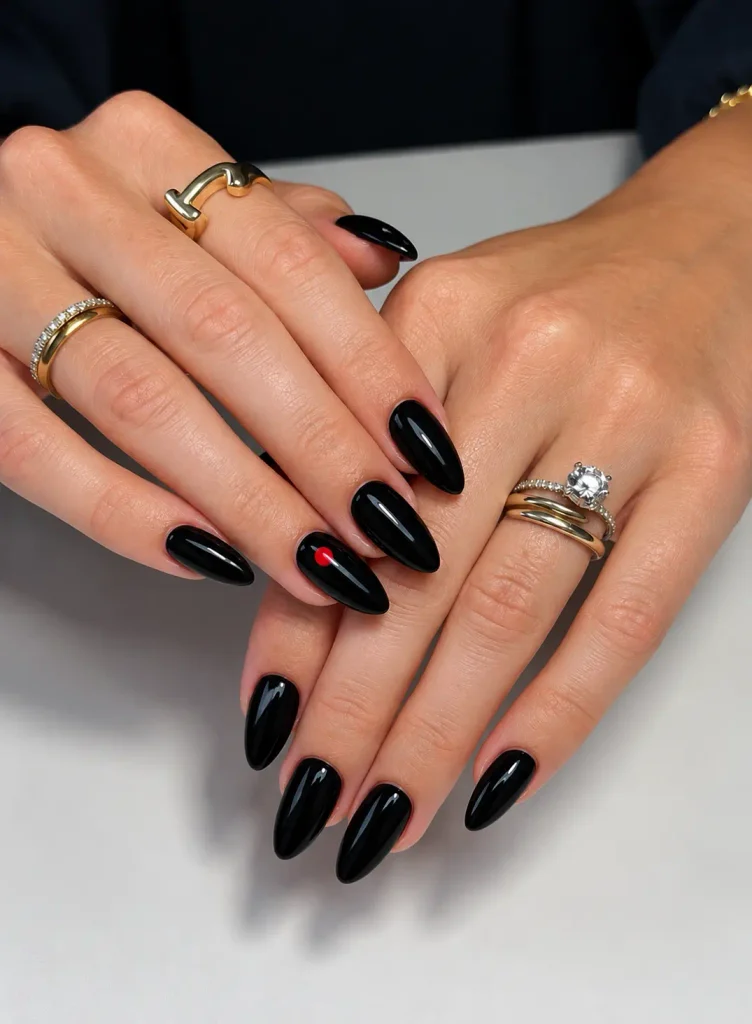
Paint each nail glossy black and add a single red dot near the cuticle, in the center, or slightly off to one side.
The generous open space makes placement the defining feature.
For a cleaner look, place the dot in the same spot on every nail. This simple pattern suits short nails and requires far less precision than an all-over design.
7. Diagonal Red Dot Patterns on Black Nails
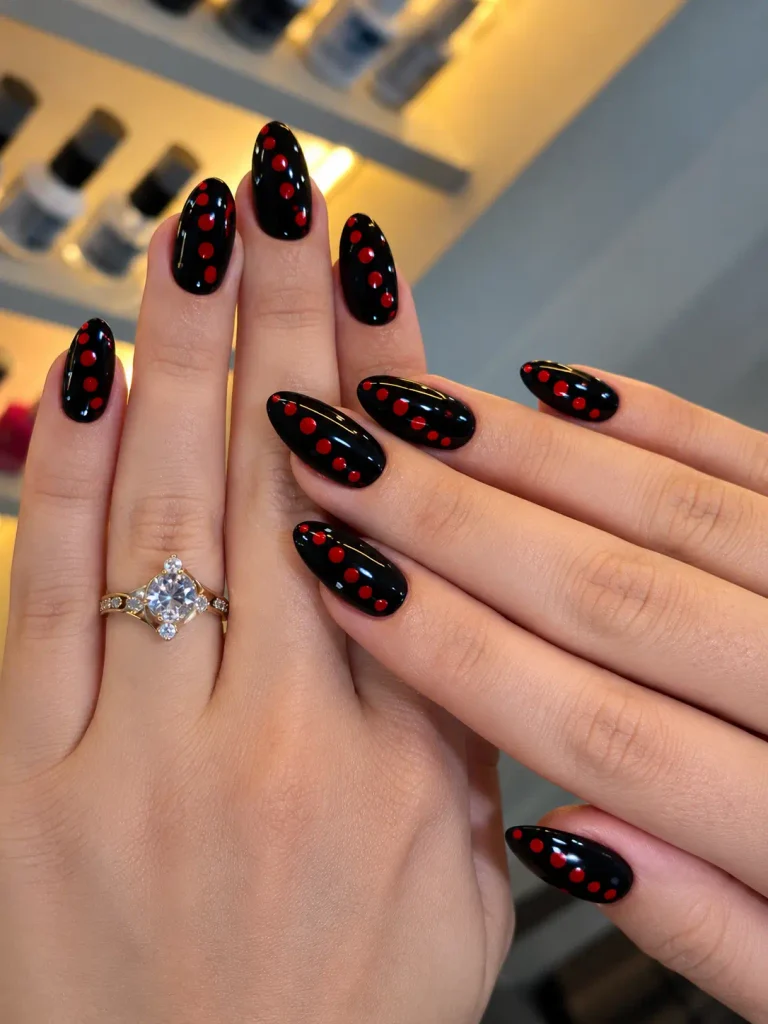
Arrange red dots along diagonal lines across a black base instead of placing them in straight horizontal rows. The angled pattern creates movement and gives the manicure a more graphic appearance.
Keep the circles similar in size and leave consistent gaps between them.
The result is structured nail art with a clear visual direction.
8. Oversized Red Polka Dots on Glossy Black Nails
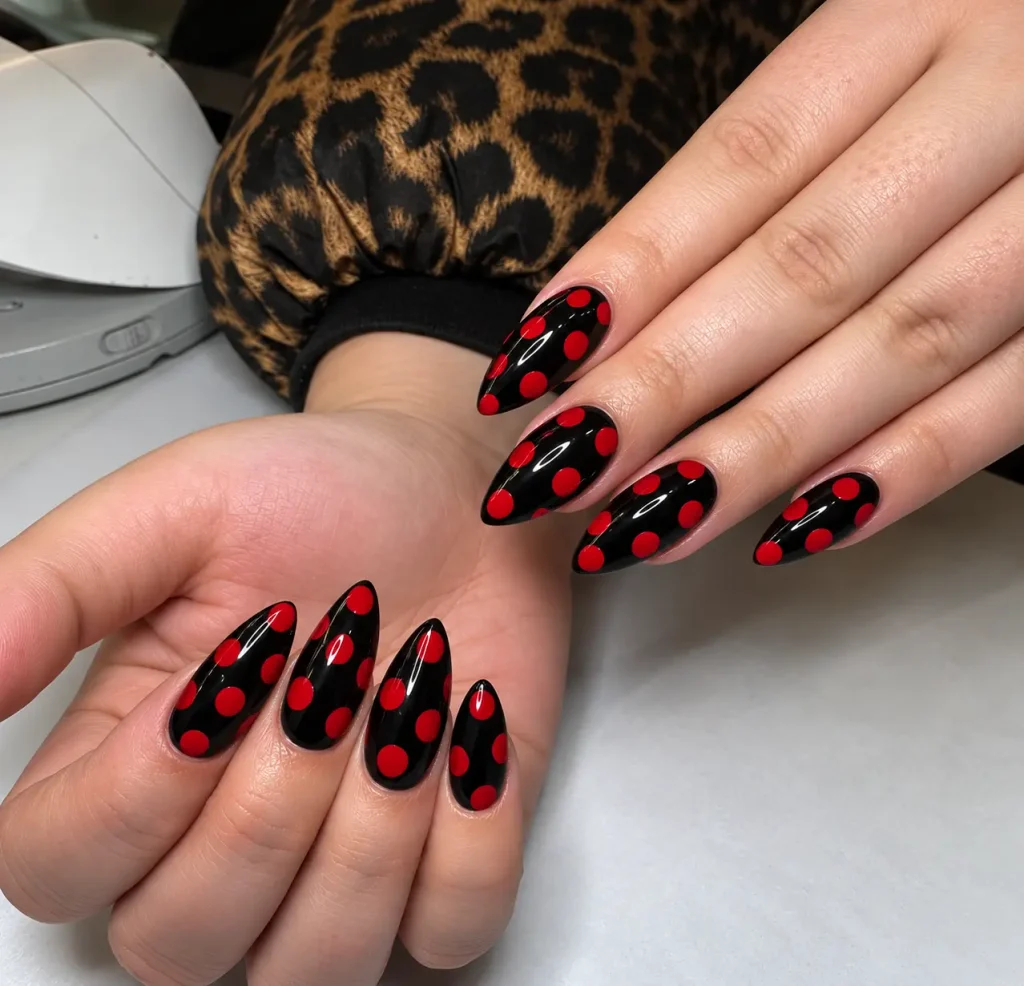
Large cherry-red circles create a bold, retro-inspired pattern against glossy black polish.
Two or three well-spaced dots per nail can make a stronger impression than a crowded arrangement.
Longer nails offer more room for oversized circles, but short nails can pull it off too. Just adjust the dot size and number to fit the available space.
9. Tiny Red Micro-Dots on Short Black Nails
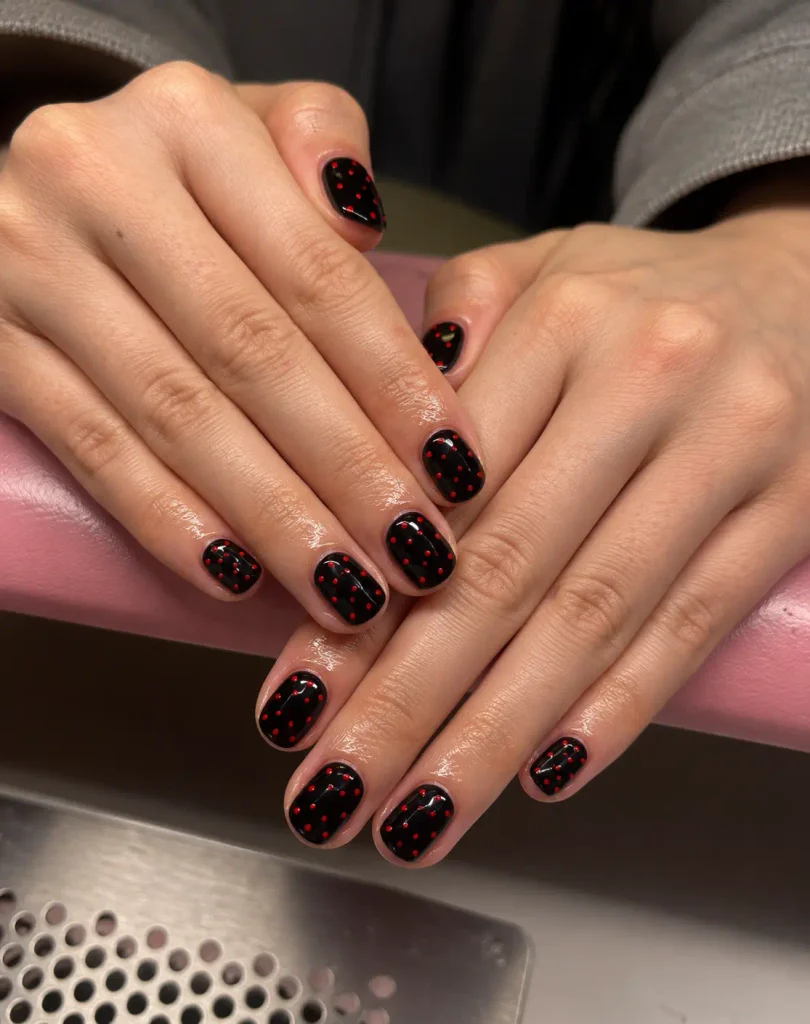
Small red micro-dots give black nails a finer, more delicate pattern than oversized polka dots. Scatter them evenly across the surface or arrange them in neat rows for a more orderly finish.
This design works especially well on short nails because the details stay subtle rather than dominating the entire nail. A fine-tipped dotting tool helps create small, consistent circles.
10. Mixed-Size Red and Black Polka Dots
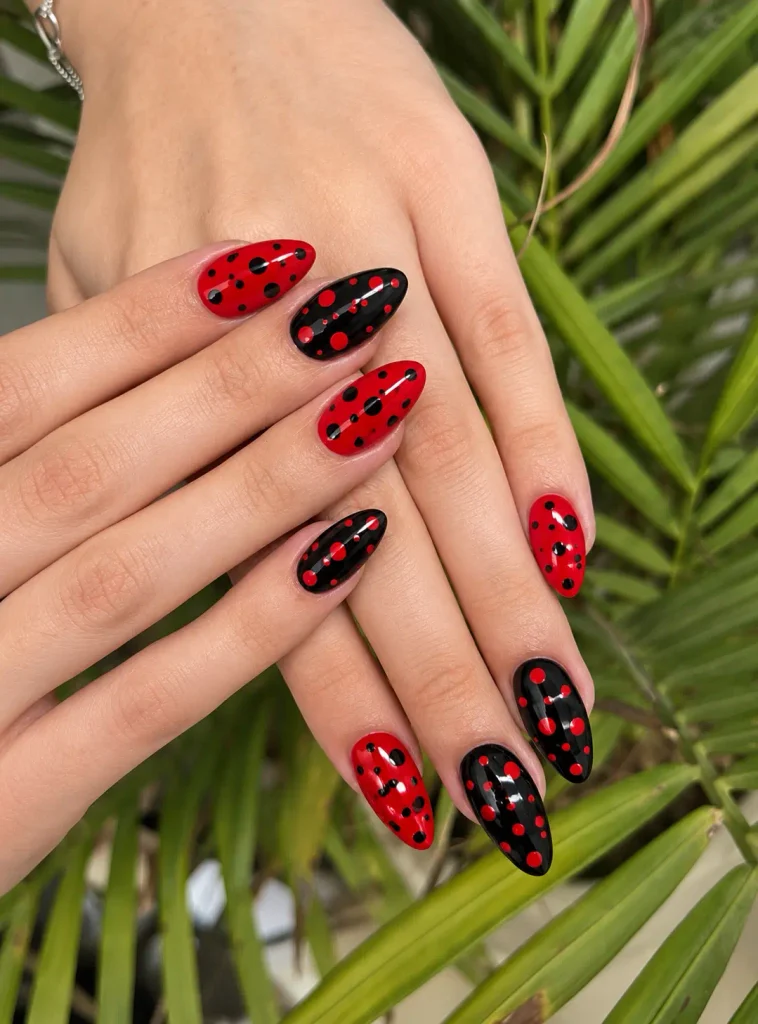
Combine small, medium, and large circles for a less uniform pattern.
Use red dots over black polish, then introduce a red accent nail with a few black dots to bring both colors together.
The difference in scale gives the manicure a lively, hand-painted appearance. Keep the colors consistent and avoid overcrowding the nails so the varied pattern remains easy to see.
11. Matte Black Nails With Glossy Red Dots
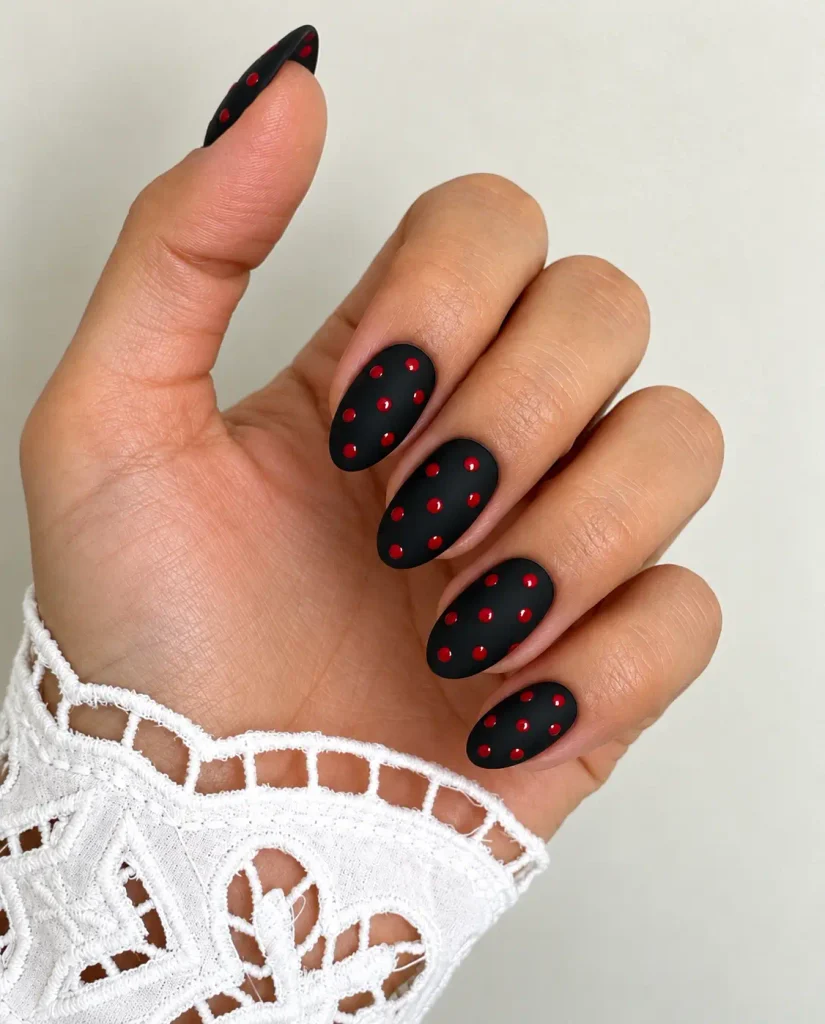
A matte black base changes the look of red polka dots without introducing another color. The soft, low-shine background contrasts with the reflective circles, making the pattern noticeable through texture alone.
Apply a matte top coat to the black polish and use a glossy finish for the red dots. Let the design dry thoroughly before finishing so the two surfaces retain their contrast.
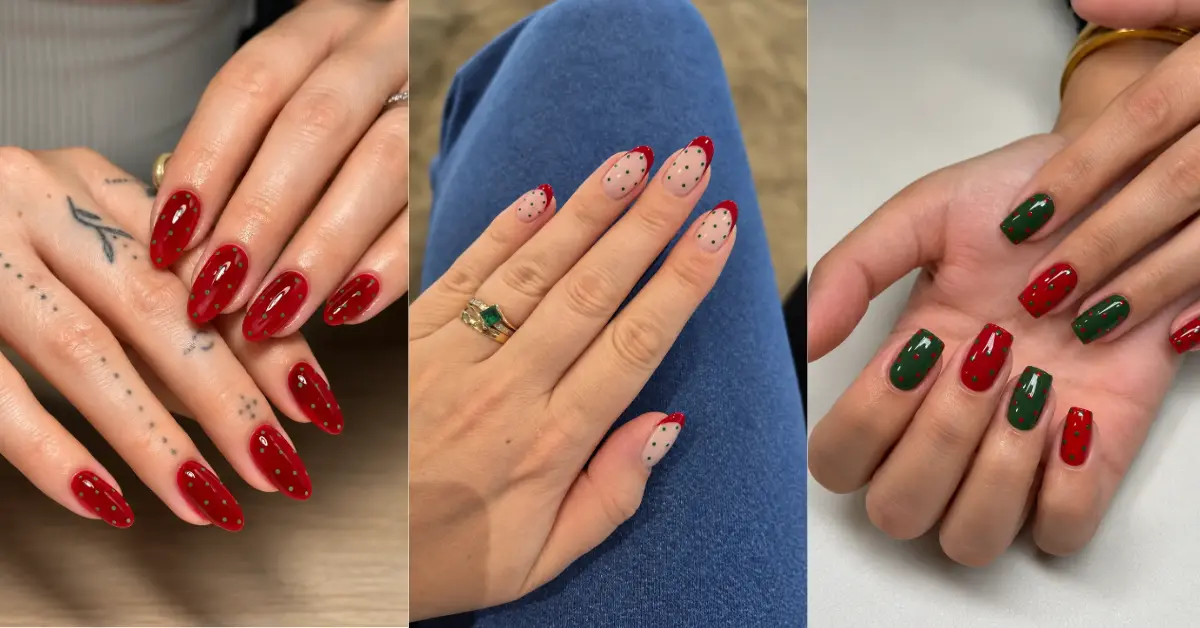
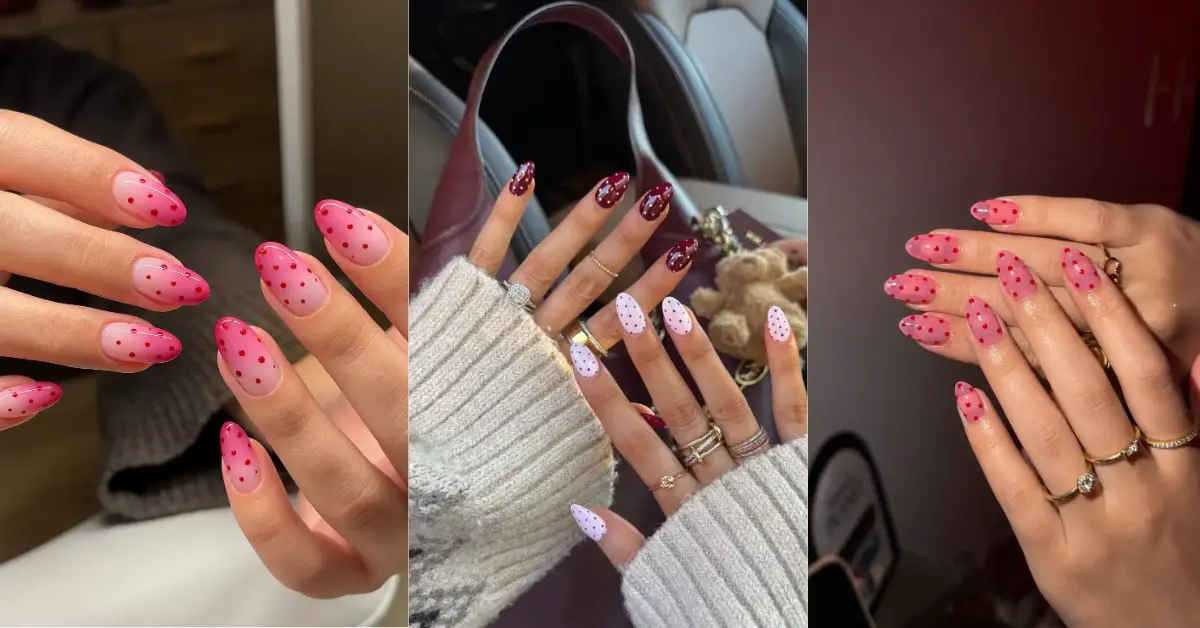
12. Sheer Red Jelly Nails With Black Polka Dots
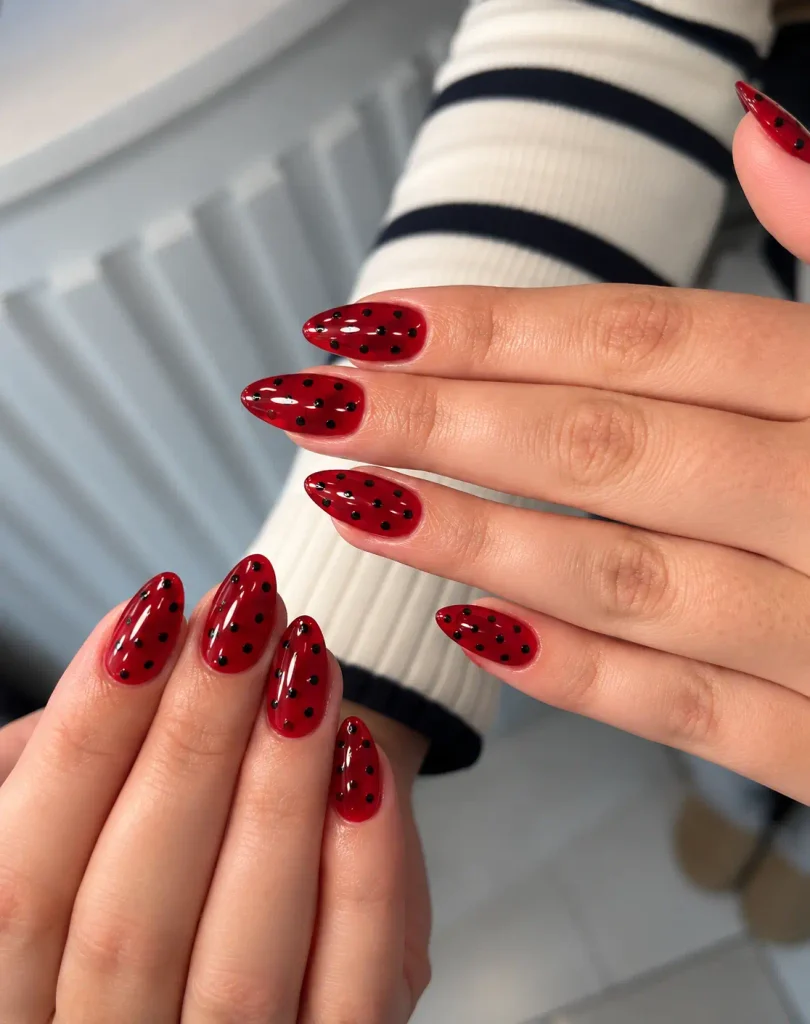
Translucent red jelly polish gives nails a candy-like look that opaque red cannot quite replicate. Black dots over the sheer color create a crisp pattern while letting light pass through the base.
Choose a red shade that remains visibly translucent after application. This finish offers a modern alternative to solid cherry-red nails while preserving the bold red-and-black contrast.
13. Negative-Space Nails With Red and Black Dots
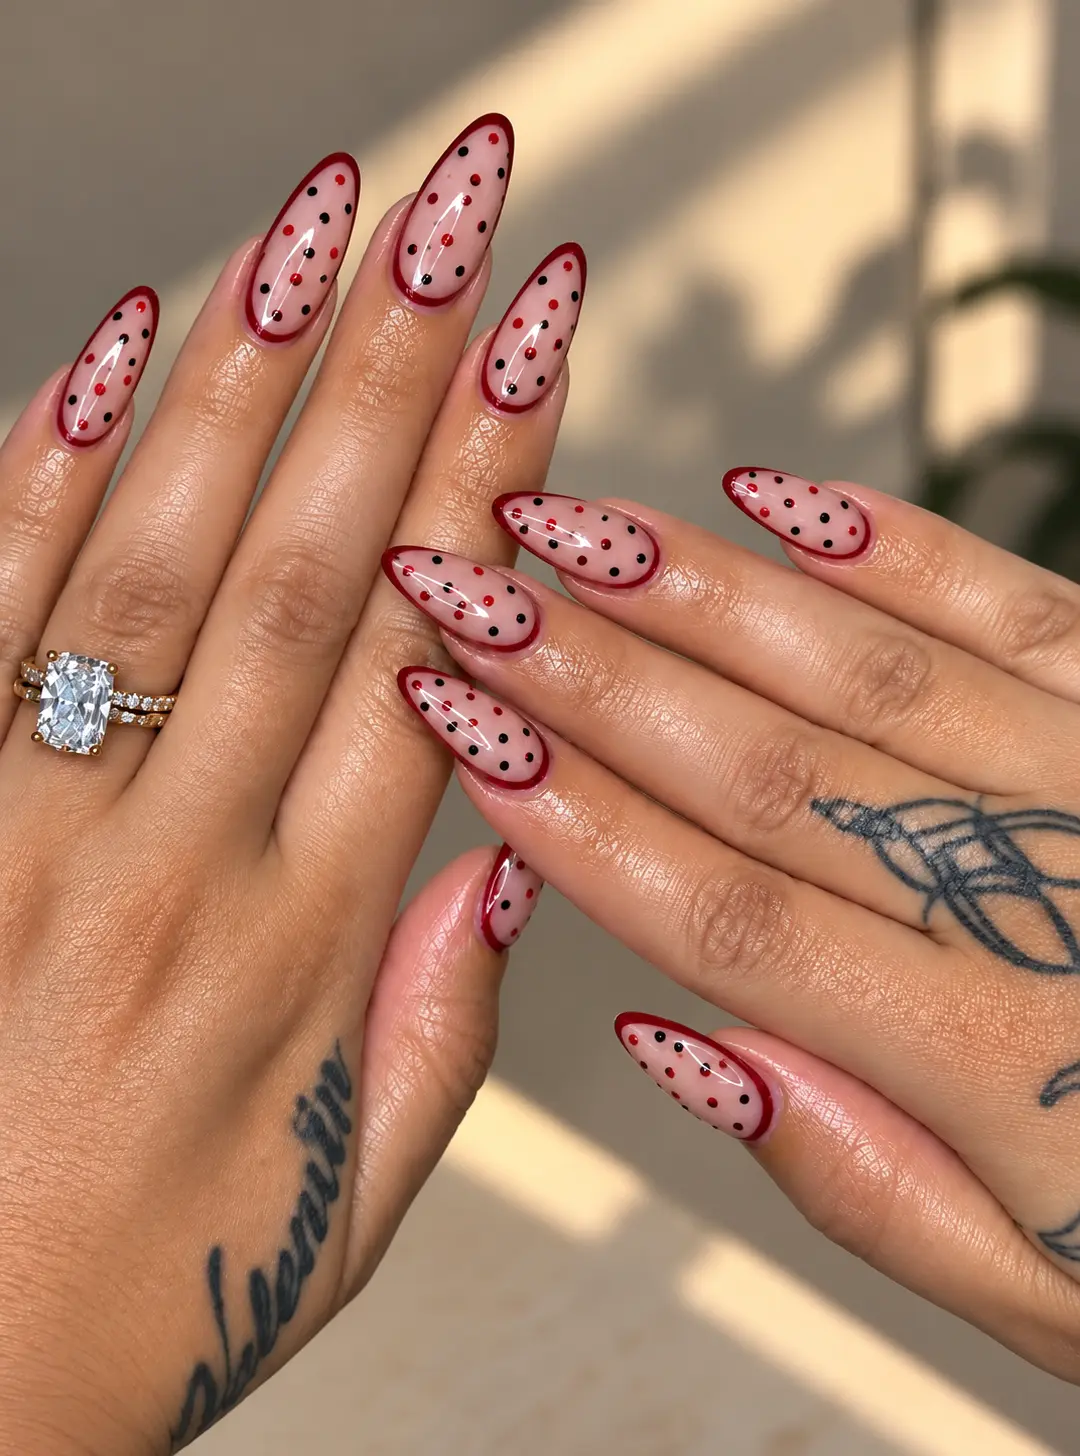
Leave parts of the natural nail visible beneath a clear or sheer base, then place red and black dots in selected areas. A small cluster near one corner creates a different effect from dots scattered across the center.
The unpainted space lets the pattern breathe and keeps the manicure visually light. It is also a useful option if you prefer nail art without a fully colored background.
14. Red Polka Dots Clustered at the Nail Tips
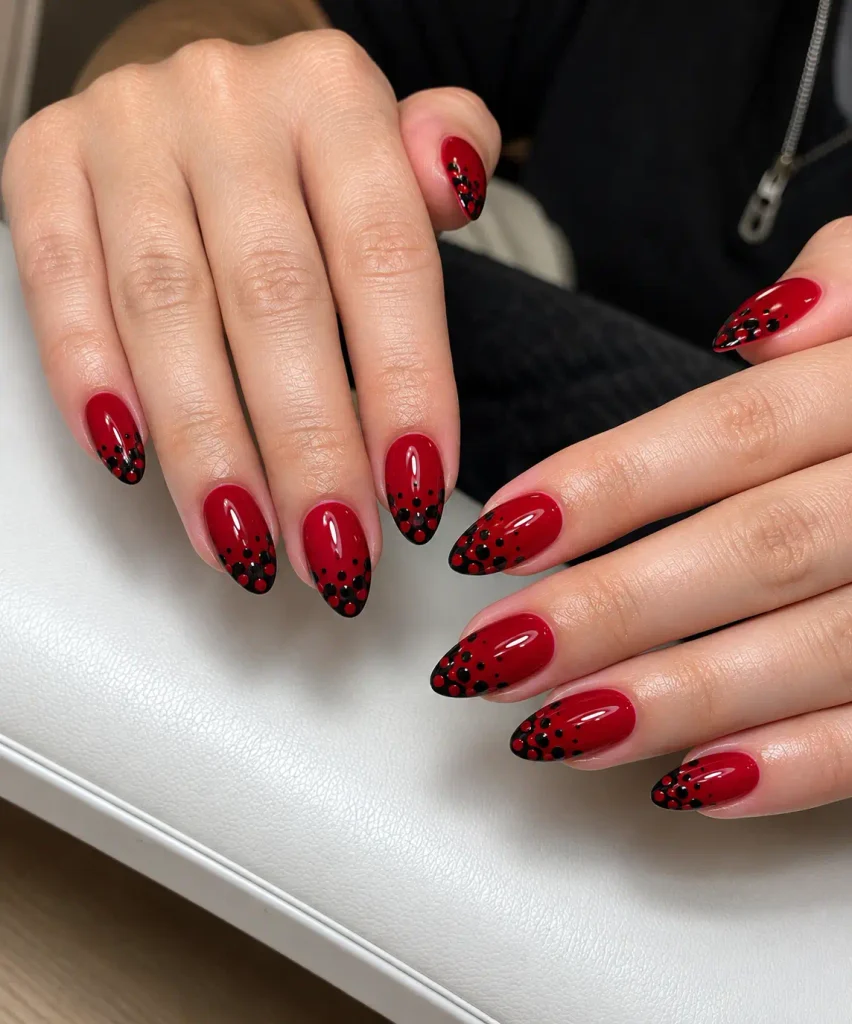
Concentrate red dots near the tips of black nails, leaving the cuticle area plain.
The cluster creates a clear focal point without the solid-colored edge associated with a French manicure.
Use a handful of dots in slightly different sizes, keeping them close enough to read as one group.
This placement adds interest while leaving much of the nail surface uncluttered.
15. Curved Red Dot Swirls on Black Nails
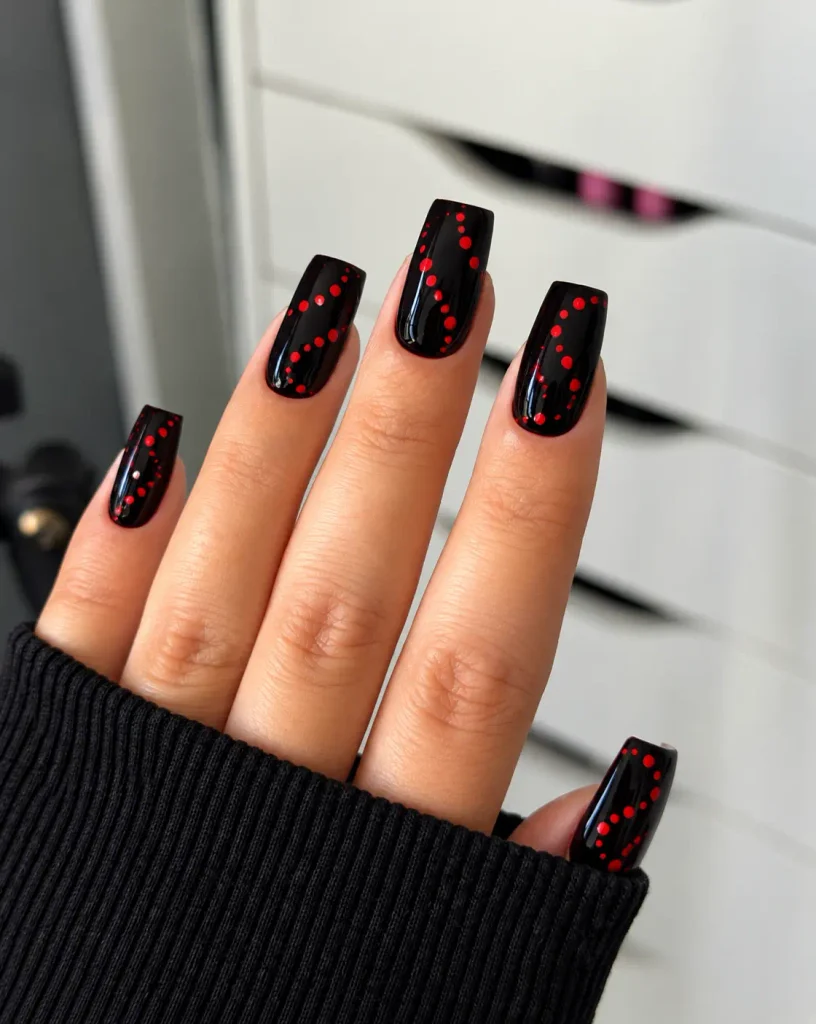
Arrange red dots along a curved path that follows each nail’s natural shape. A gentle S-curve or sweeping arc creates a flowing pattern rather than a grid of circles.
Repeat a similar curve across the set for a coordinated manicure, or vary the direction on alternate fingers. Curved placement distinguishes this design from ordinary scattered polka dots.
16. Black Cat-Eye Nails With Red Polka Dots
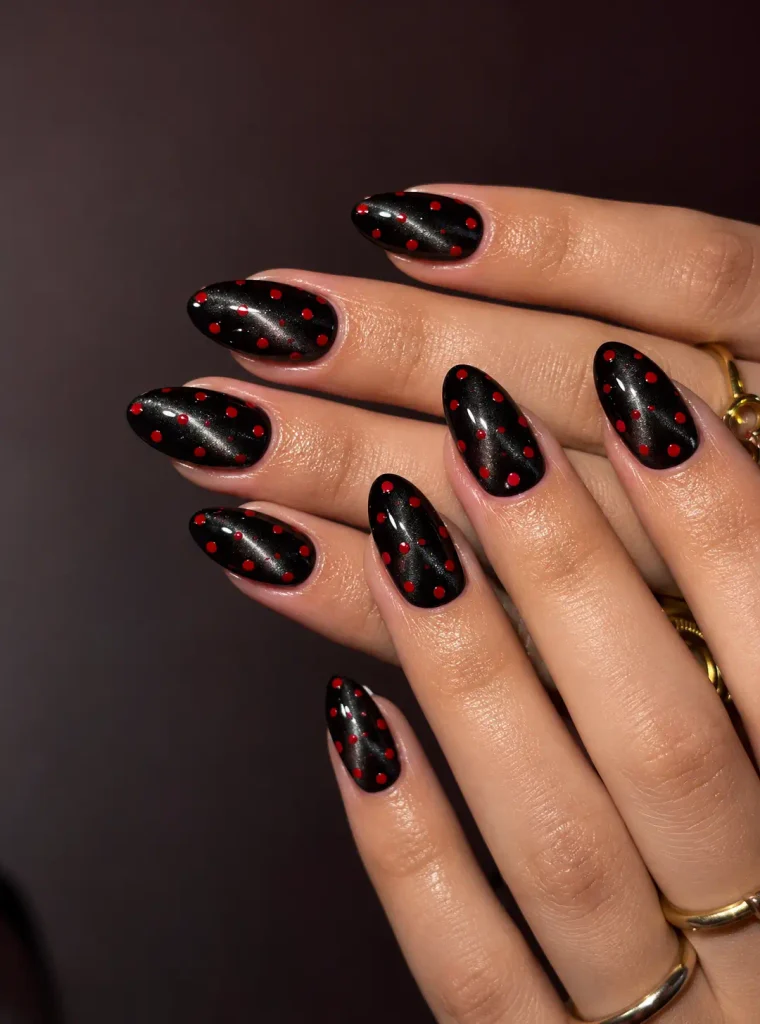
Magnetic black cat-eye polish creates a shifting, light-catching effect beneath bright red dots.
The shimmer adds depth to the dark background, while the solid circles keep the pattern clearly defined.
Ask your nail technician to create the magnetic effect before adding the dots. Keep the red circles opaque and well spaced so they stand out against the reflective finish.
This is one of the more dramatic red-and-black nail designs for anyone who enjoys textured salon manicures.
17. Red and Black Polka Dots With Fine Gold Accents
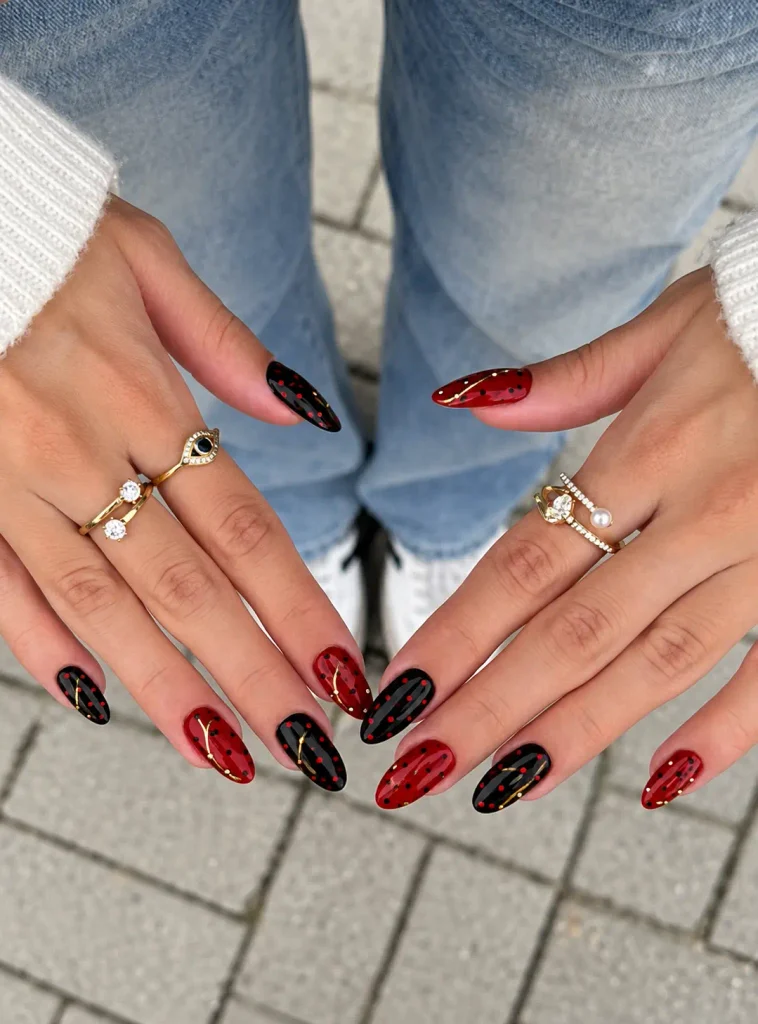
Keep red and black polka dots as the main pattern, then add a fine gold line or a few tiny metallic details to one accent nail. The gold adds warmth and a dressier feel without overpowering the manicure.
A single gold detail is often enough. Too much metallic decoration can compete with the dots, so keep the rest of the nails focused on the two main colors.
18. Red and Black Polka Dots With a Tiny Heart
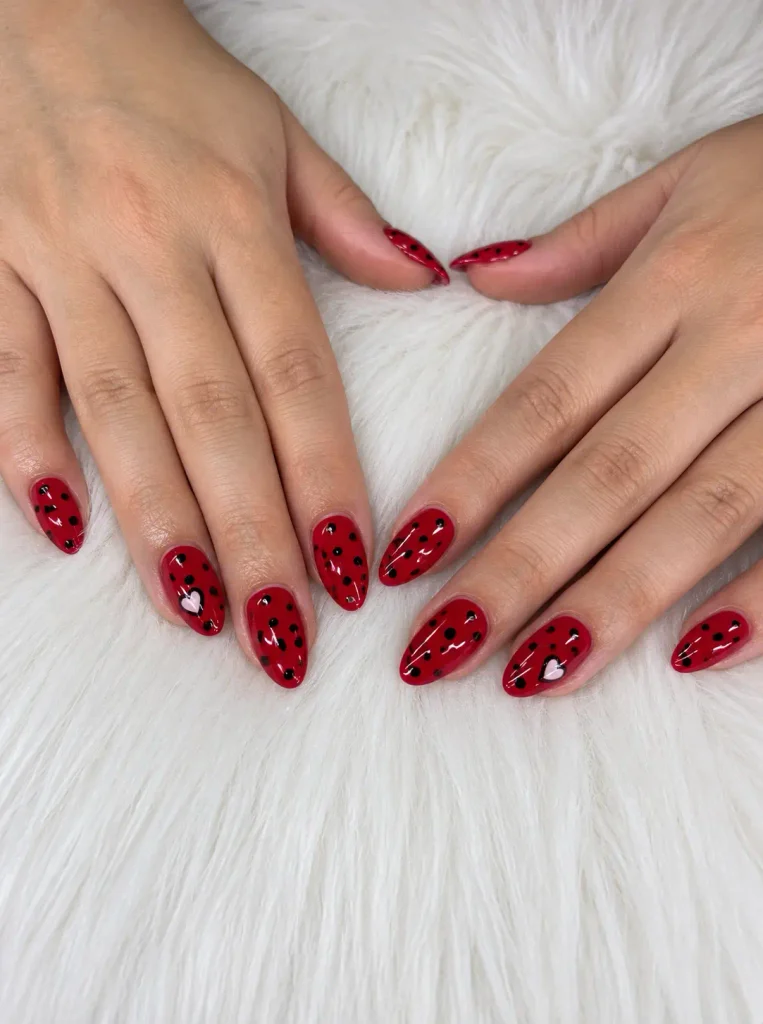
Add one small red heart to a black accent nail and keep the remaining nails dotted. The heart introduces a romantic detail while maintaining the same color palette and overall theme.
This design suits Valentine’s Day, date nights, or anyone who prefers cute nail art.
Use the same red shade for the hearts and dots to make the set look cohesive.
19. Deep Burgundy Nails With Black Polka Dots
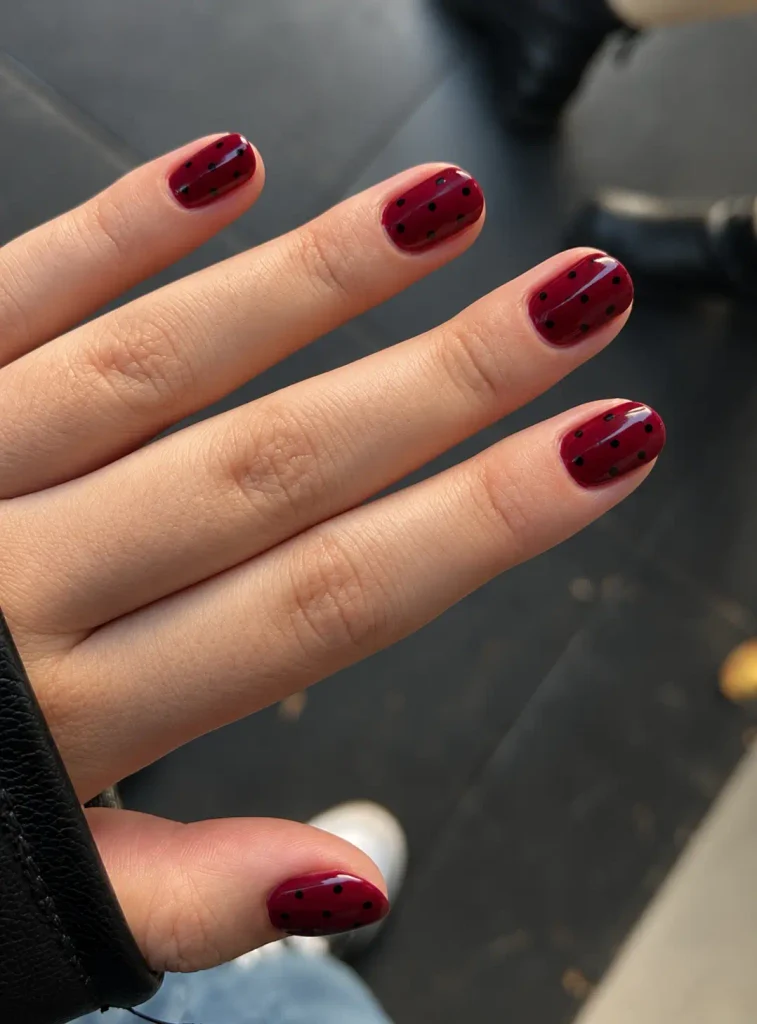
Deep burgundy offers a moodier alternative to bright cherry red.
Small black dots create a subtle pattern over the wine-colored base, giving the manicure a richer, less retro appearance.
A glossy top coat brings out the burgundy polish’s depth. This color combination works especially well with autumn and winter outfits, although it can be worn whenever you prefer a darker red manicure.
How to Make Red and Black Polka Dot Nails at Home
You can create simple polka dot nail art with a dotting tool and two contrasting polishes.
- Prepare your nails. Shape them, clean the surface, and apply a base coat.
- Apply the base color. Choose red, black, or a sheer polish according to your design. Let it dry.
- Make the dots. Dip a nail-art dotting tool into the contrasting polish and gently press it onto the nail.
- Build your pattern. Use evenly spaced circles for a classic look, tiny dots for a delicate finish, or larger circles for a retro effect.
- Seal the manicure. Once the dots are dry, apply a clear top coat to protect the design and add a smooth finish.
Use only a small amount of polish on the tool to prevent the circles from spreading. If you are new to nail art, practise on paper first and begin with a simple accent nail.
Which Nail Shape Looks Best With Red and Black Polka Dots?
The right shape depends on your preferred pattern and nail length.
- Short square nails: Suit micro-dots, neat rows, and minimalist designs.
- Squoval nails: Work well for everyday manicures and accent nails.
- Oval nails: Complement classic polka dots and curved patterns.
- Almond nails: Provide room for oversized circles, French tips, and more elaborate designs.
- Round nails: Pair nicely with single-dot accents and small, scattered patterns.
Long nails are not essential. On shorter nails, well-spaced dots and a simple layout can make the same color combination look just as striking.
Final Thoughts
Red and black polka dot nails can be as understated or dramatic as you like. A single red dot offers a minimalist approach, French tips create a defined edge, and oversized circles bring a retro feel to the manicure.
For a first attempt, start with a glossy black base and evenly spaced red dots. Once you are comfortable with the pattern, experiment with sheer polish, contrasting finishes, or a small accent design to make the look your own.
Frequently Asked Questions
Are red and black polka dot nails in style?
Polka-dot manicures keep appearing in beauty coverage, with variations like French tips, micro-dots, and textured finishes. Red and black give the pattern a high-contrast, retro edge
What colors go well with red and black polka dot nails?
A sheer nude base can soften the design, while gold accents add a dressier touch. Red and black are strong enough to stand on their own, so you don’t need extra colors.
Do red-and-black polka dot nails look good on short nails?
Yes. Try micro-dots, single-dot accents, or a few evenly spaced circles. Keeping the pattern proportional to the nail helps it look less crowded.
How do you make neat polka dots on nails?
Use a dotting tool, pick up a small amount of polish, and press gently onto the nail. Practise controlling the size on paper first, and let the dots dry before applying your top coat.
Can I wear red-and-black polka-dot nails for a special occasion?
Yes. Glossy black with red dots makes a bold statement, burgundy creates a deeper look, and restrained gold accents add a dressier finish.