
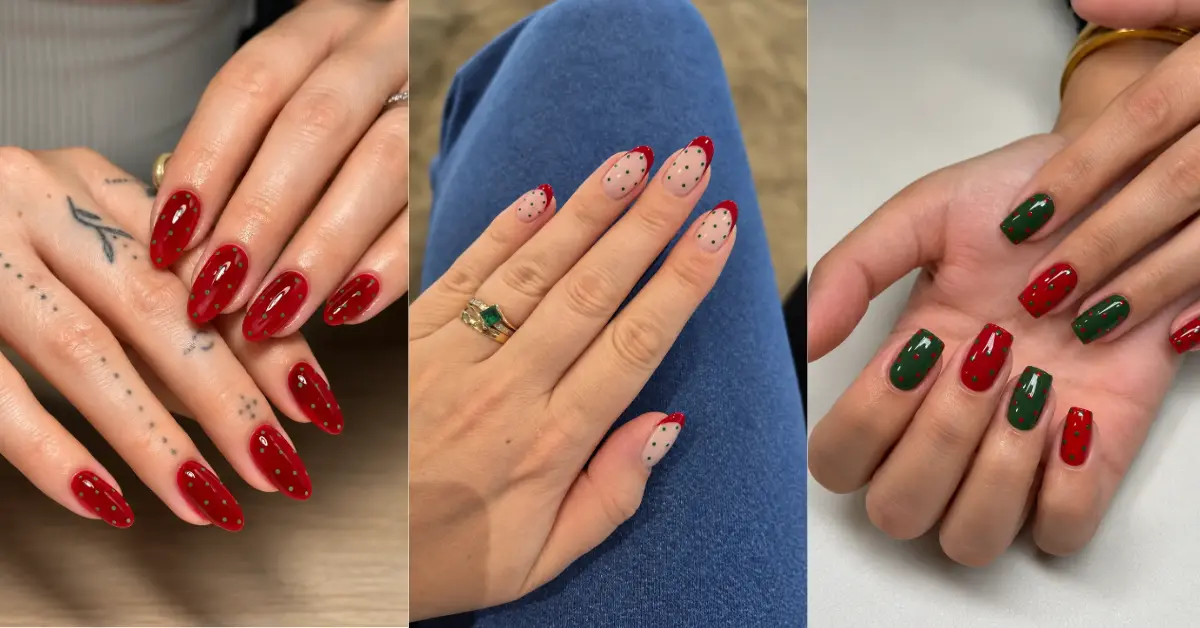
Red and green create a striking contrast that works beautifully in nail art. From tiny cherry-red dots on sage polish to bold patterns on a creamy base, this color combination offers plenty of ways to make a manicure stand out.
These red and green polka dot nails ideas range from understated designs to playful, eye-catching patterns.
Whether you prefer short natural nails, glossy finishes, or creative salon art, each look offers a distinct way to wear these two colors.
1. Cream Nails With Classic Red and Green Polka Dots
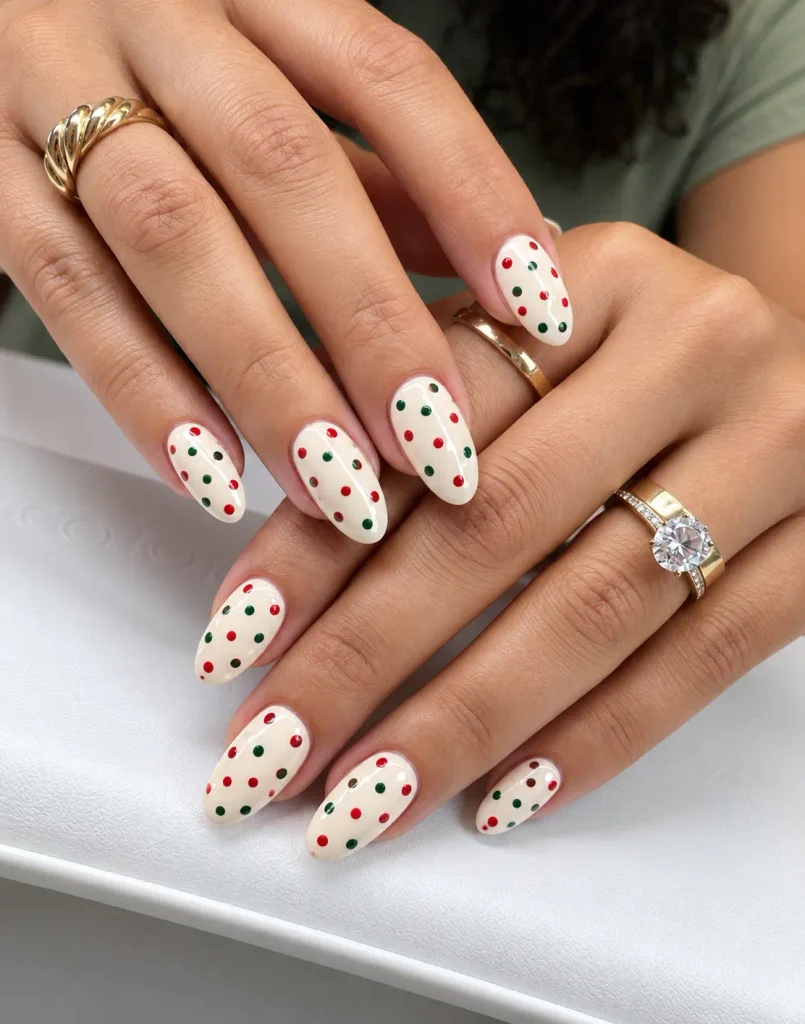
A creamy white base makes red and green dots stand out without looking too bold.
Arrange small, evenly spaced dots across each nail, alternating the colors for a balanced pattern.
The warm background softens the contrast, giving this manicure a clean, retro-inspired appearance.
A glossy top coat keeps the colors vibrant and the surface smooth.
2. Red French Tip Nails With Tiny Green Dots
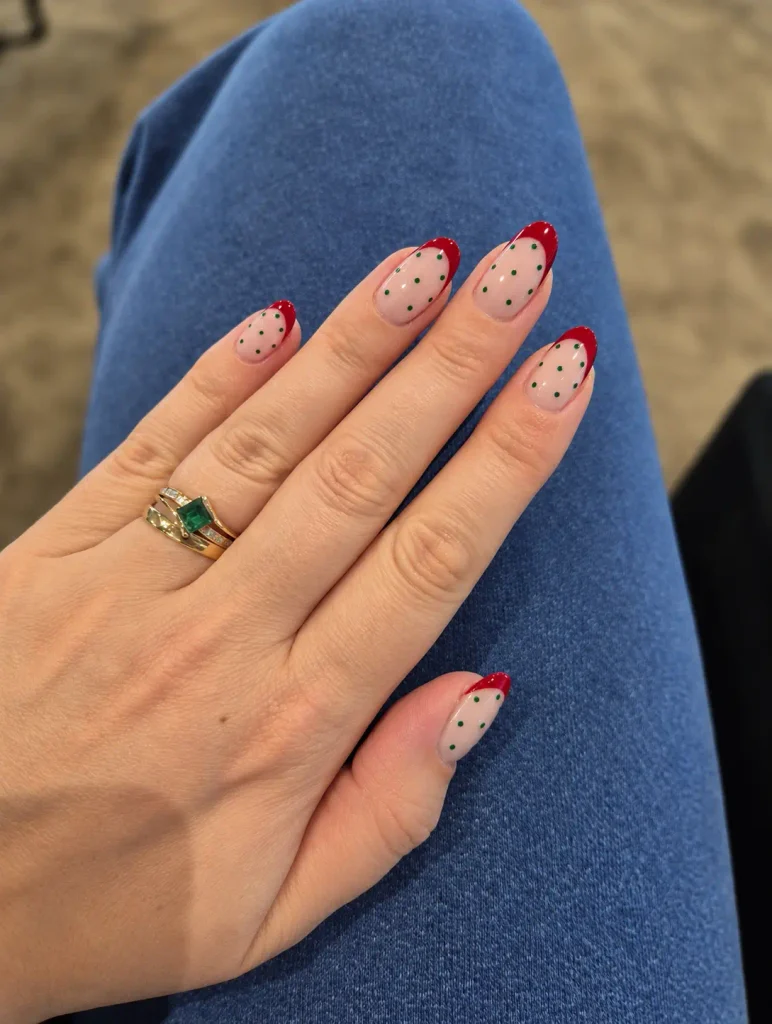
Replace traditional white French tips with cherry-red edges, then add one or two tiny green dots near the tips.
A sheer pink or nude base keeps the design light and lets the colored details take center stage.
This design combines two familiar nail trends without covering the entire nail in patterns. It works particularly well on almond and oval shapes, where the curved tips complement the delicate dots.
3. Forest Green Nails With Cherry-Red Accent Dots
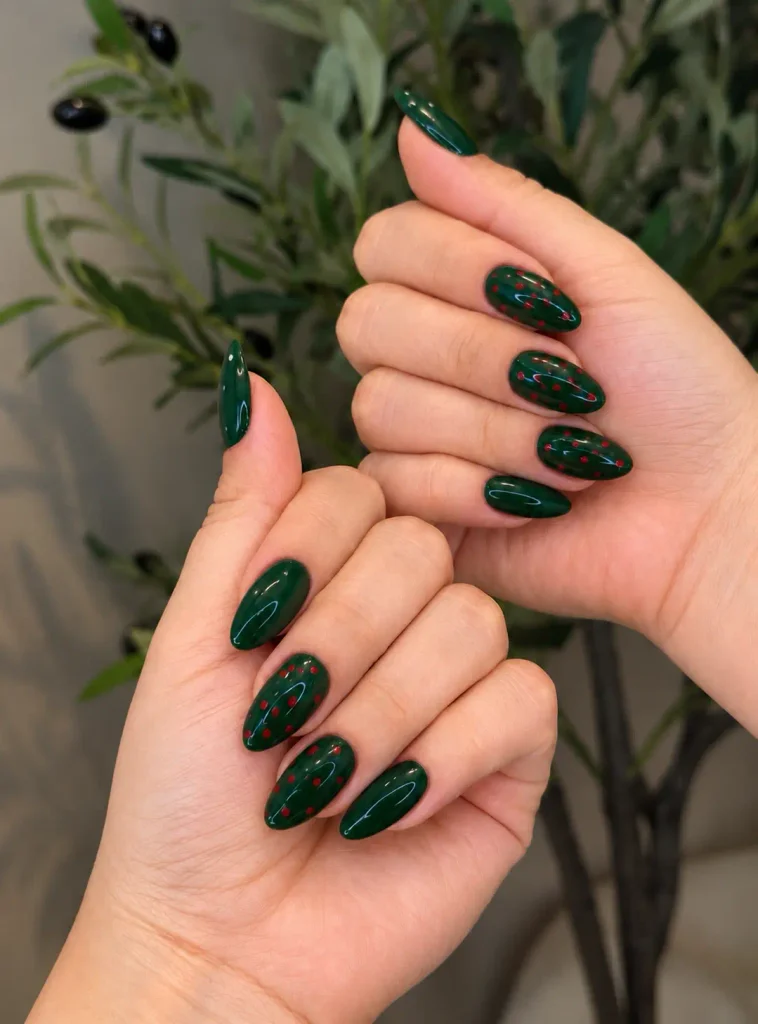
Deep forest-green polish creates a rich background for small cherry-red dots. Keep the pattern on one or two accent nails, leaving the remaining nails solid green for contrast.
The dark base gives the red details a jewel-like appearance.
Choose a high-gloss finish to emphasize the depth of the green and make the manicure look polished.
4. Sheer Nude Nails With Minimalist Micro-Dots
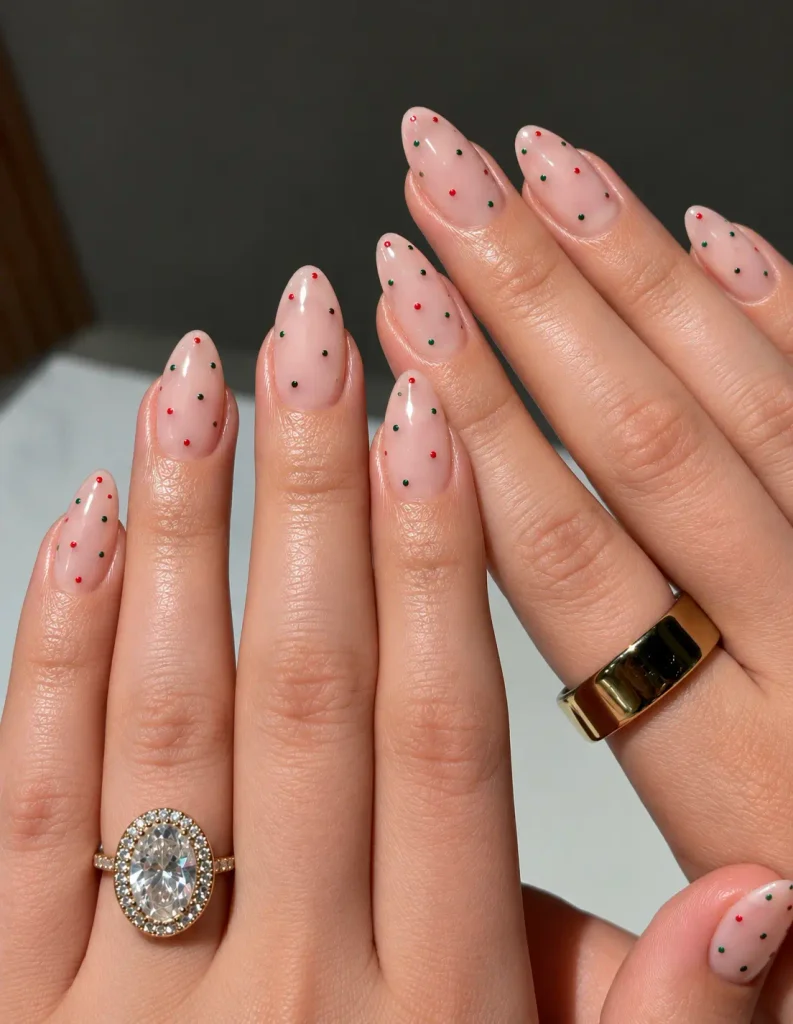
For a barely-there manicure, use a translucent nude or blush-pink base and place just a few miniature red and green dots on each nail. Leave generous space between them rather than filling the surface with a regular pattern.
The result is delicate and understated, with the natural nail still visible underneath. Short, rounded nails suit this design especially well because the tiny details don’t overwhelm the nail shape.
5. Retro Red and Green Polka Dot Nails
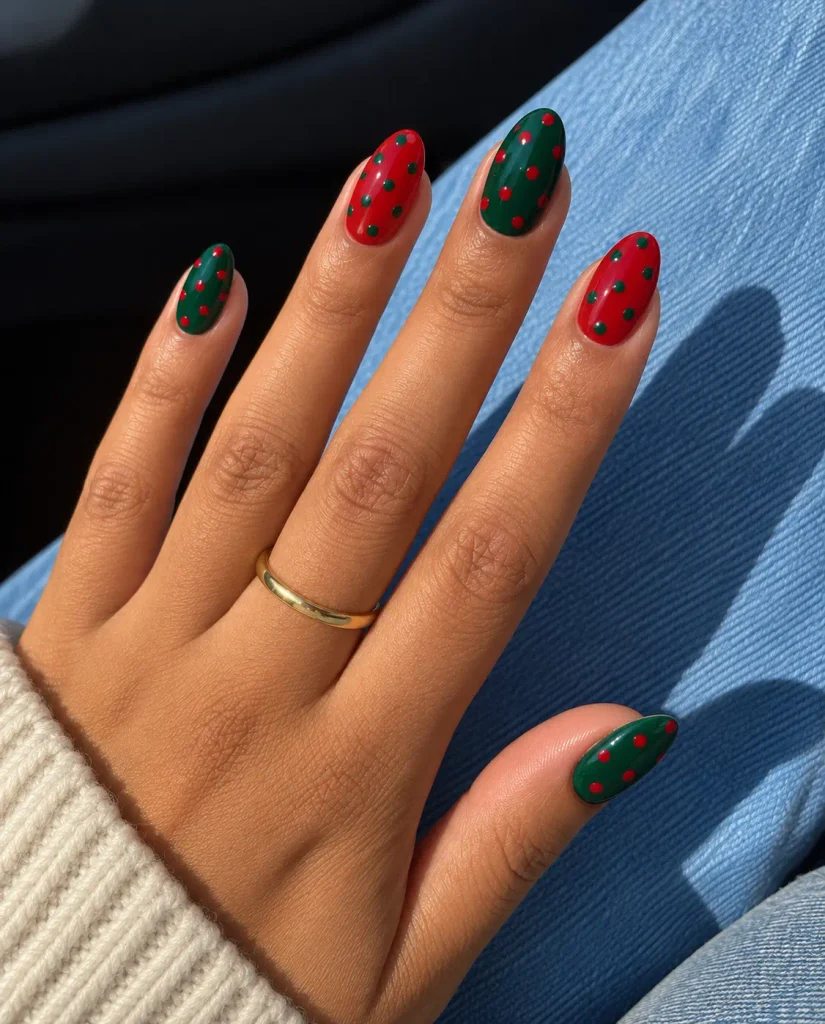
Go bold with a solid red or green base and oversized dots in the contrasting shade. For a true vintage-inspired effect, use rounded shapes and a repeating pattern rather than scattering the dots randomly.
A slightly curved, almond-shaped nail enhances the playful look, while a square shape gives it a graphic finish. The key is to keep the dots large enough to make a statement and consistent enough to look intentional.
6. Red and Green Polka Dot Nails With Gold Accents
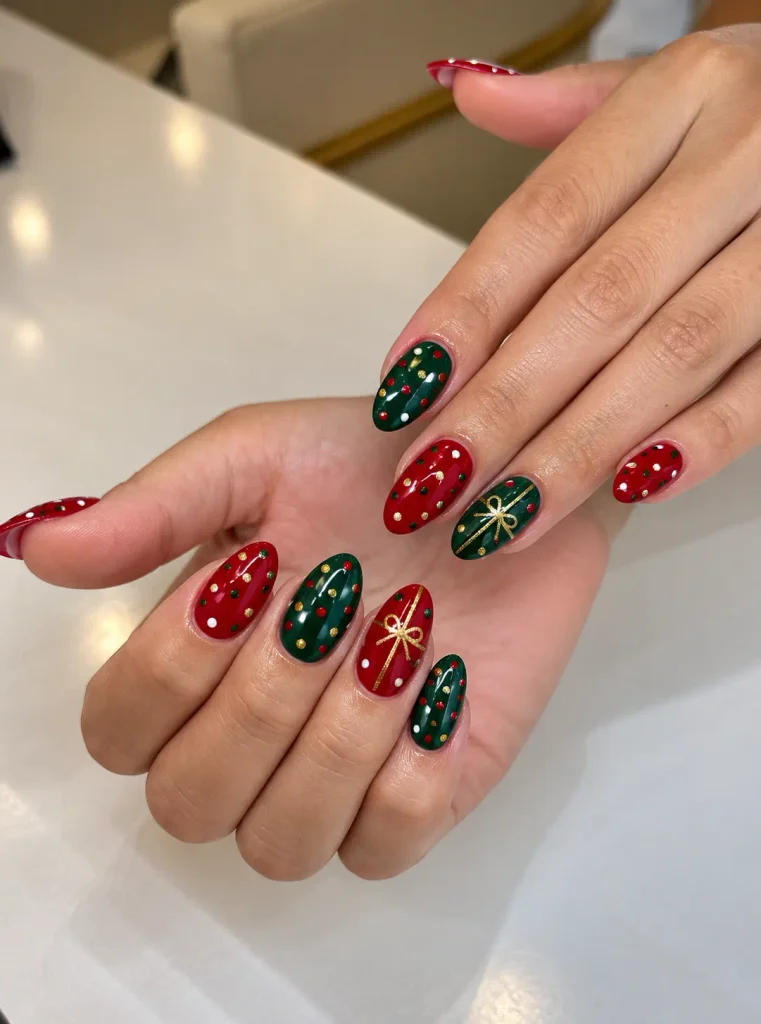
Combine red and green dots with a few fine gold details for a manicure that feels more decorative.
Start with a cream or nude base, then add the colored dots and small gold lines or foil accents on selected nails.
Keep the metallic details restrained so they complement rather than compete with the pattern. This combination is particularly effective for holiday gatherings, evening events, and winter celebrations.
7. Diagonal Red and Green Polka Dot Nails
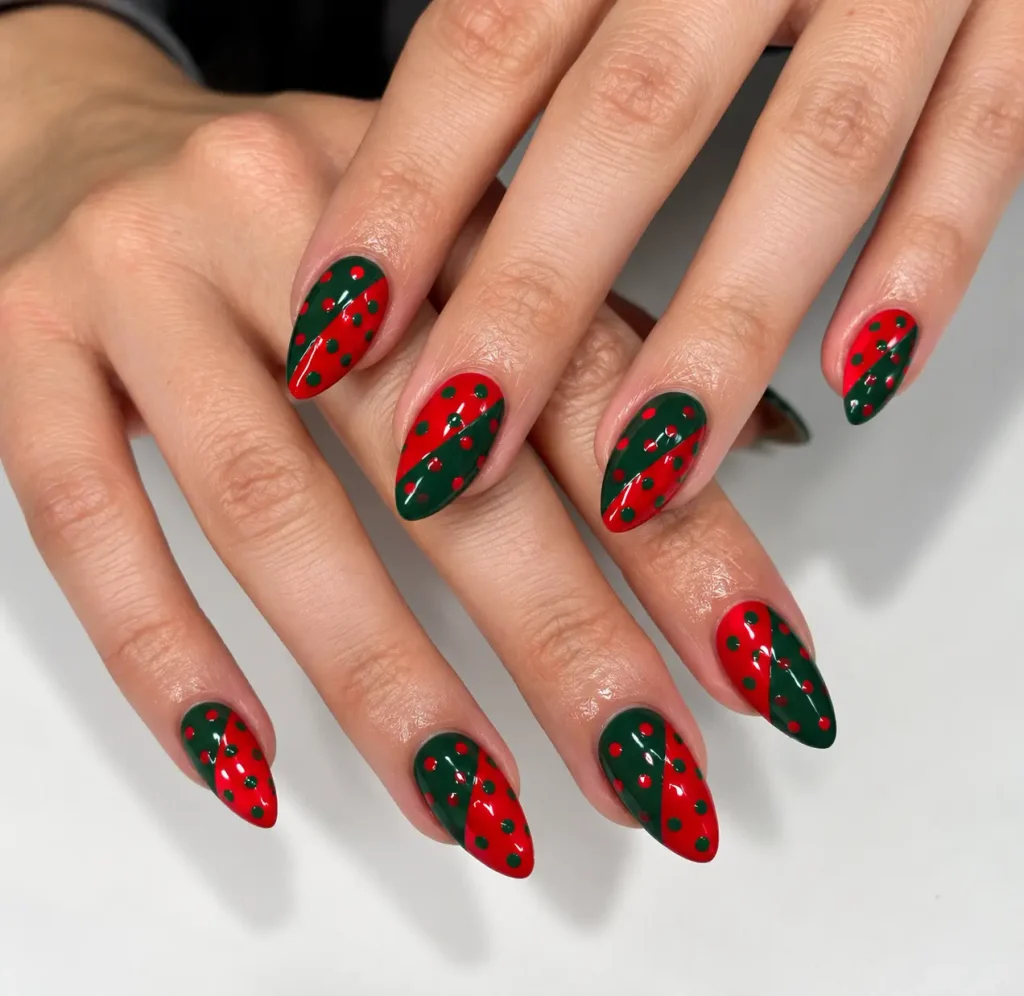
Instead of placing dots in straight rows, arrange them along a diagonal path across each nail. Alternate red and green to create a sense of movement, leaving the rest of the base visible.
A pale pink, milky white, or transparent background makes the angled arrangement easy to see.
This layout offers a simple way to make classic polka dot nail art feel more contemporary without adding extra decorations.
8. Negative-Space Nails With Red and Green Dots
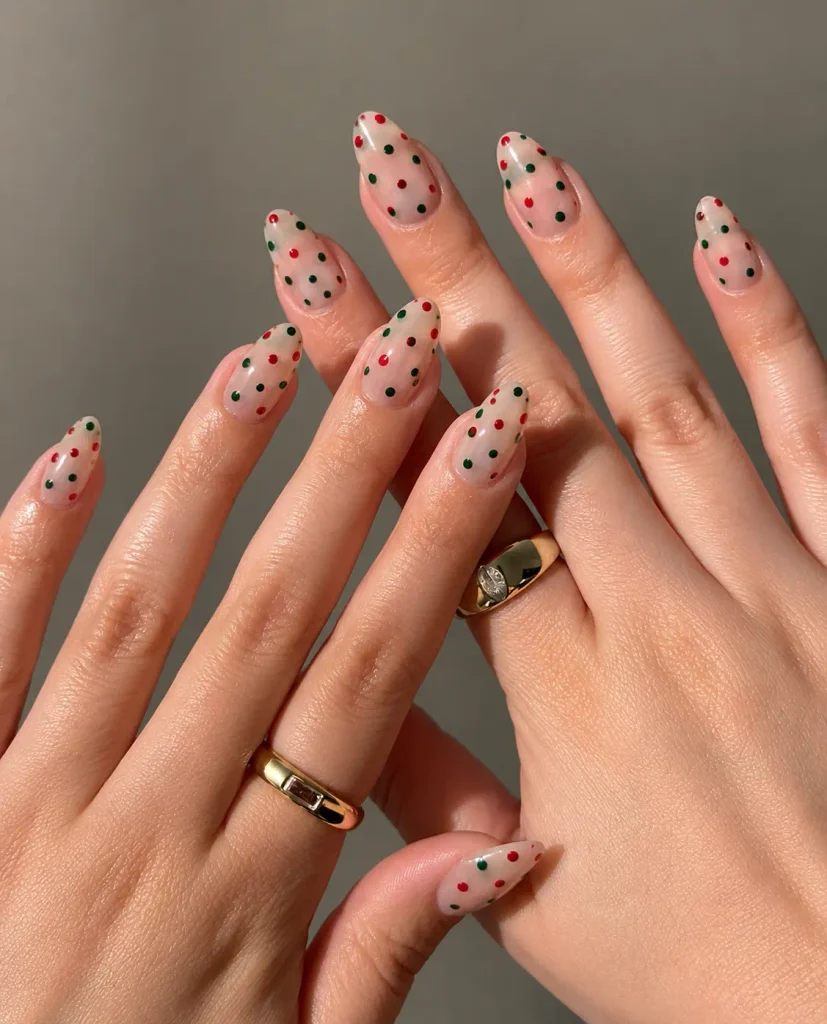
Let the natural-looking nail remain part of the design. Apply a few dots in different areas, leaving large sections of the nail completely clear or covered only with a transparent base coat.
Unlike a minimalist micro-dot manicure, this look focuses on open space and an intentionally uneven arrangement.
It is a good option for anyone who wants colorful nail art without a fully painted background.
9. Green Chrome Nails With Red Polka Dots
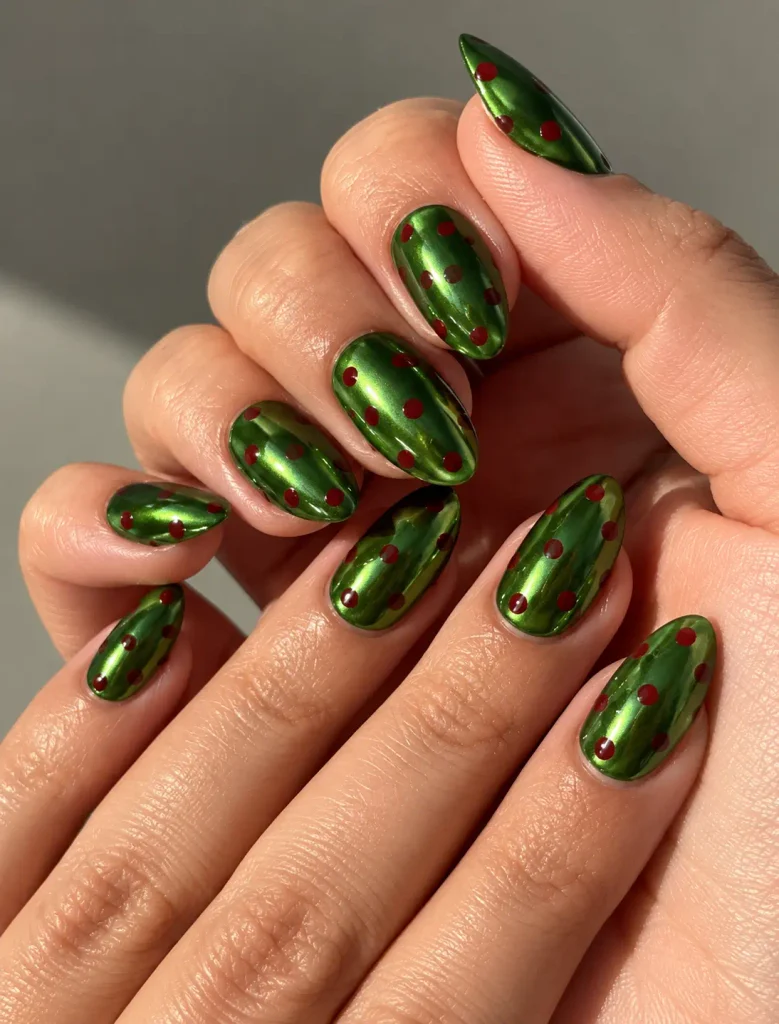
A reflective green chrome finish creates a striking backdrop for cherry-red dots.
Apply the chrome effect first, then add the dots carefully so their color remains distinct against the metallic surface.
The combination of shine and rounded details gives this manicure a modern, statement-making finish. Keep the pattern simple; too many extra decorations can make the reflective effect harder to appreciate.
10. Red Jelly Nails With Green Polka Dots
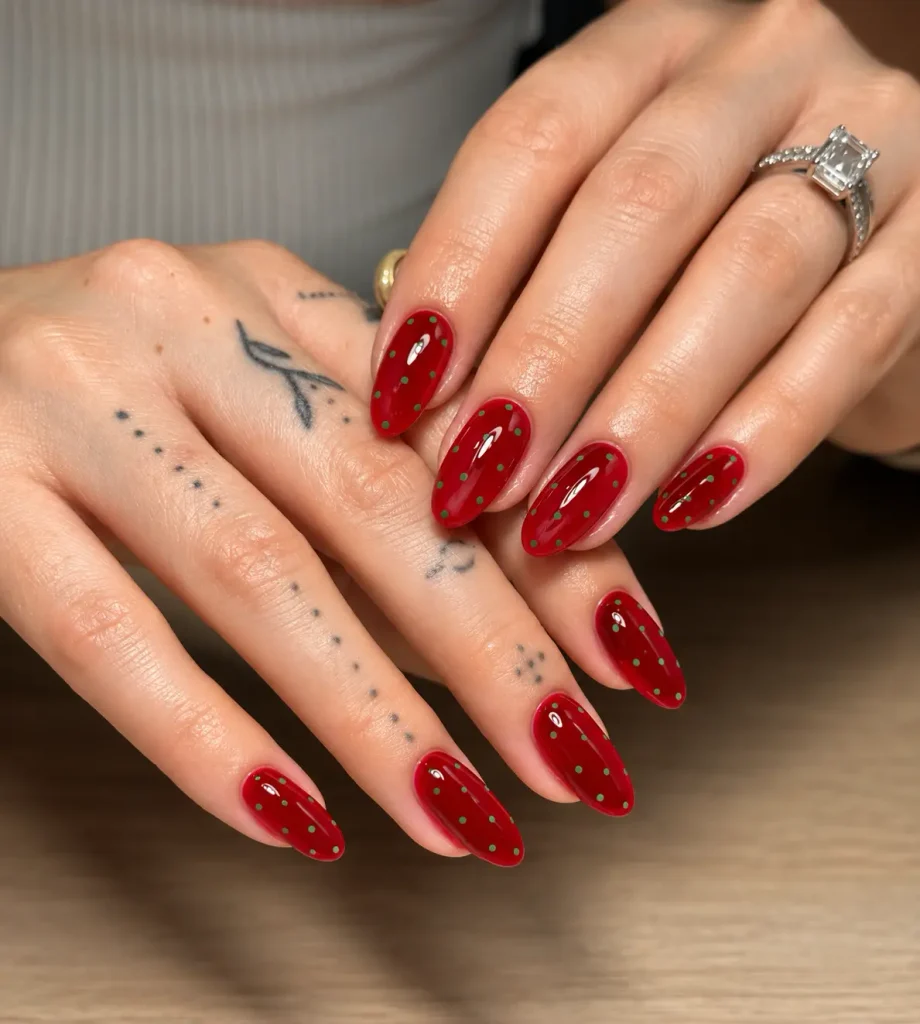
Red jelly polish gives nails a translucent, glass-like appearance rather than the opaque finish of traditional cream polish. Add green dots over the glossy red base for a playful design with visible depth.
The slightly see-through color makes this look different from a conventional red manicure. It is especially appealing on medium-length nails, where the translucent finish has enough room to show its effect.

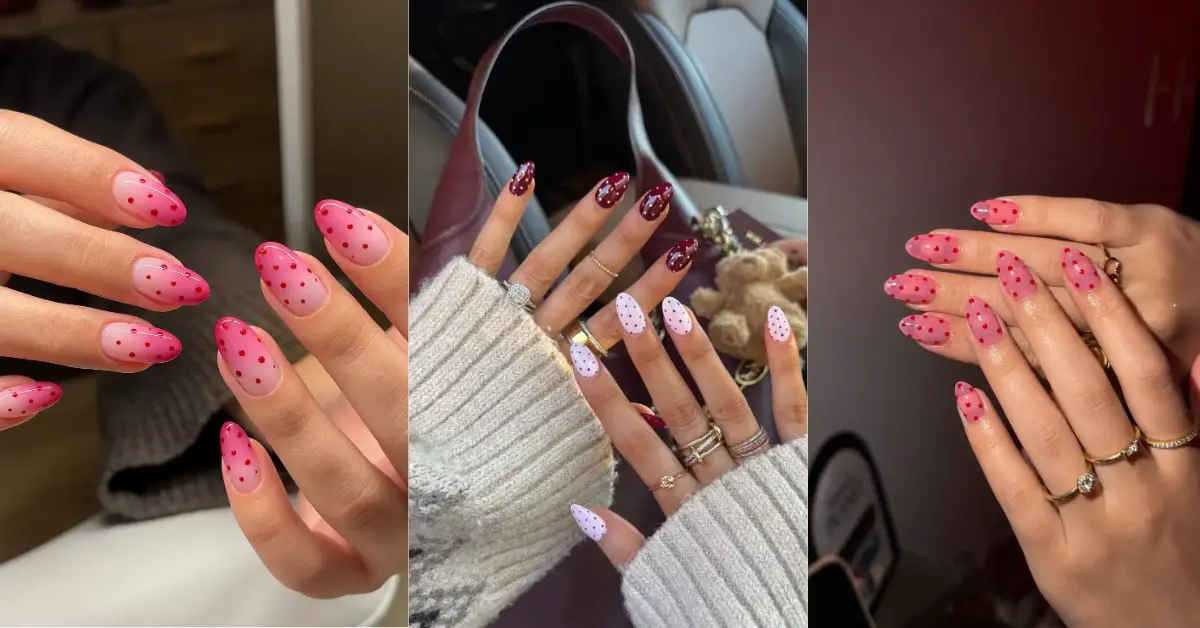
11. Holly Berry Nails With Red Dots and Green Leaves
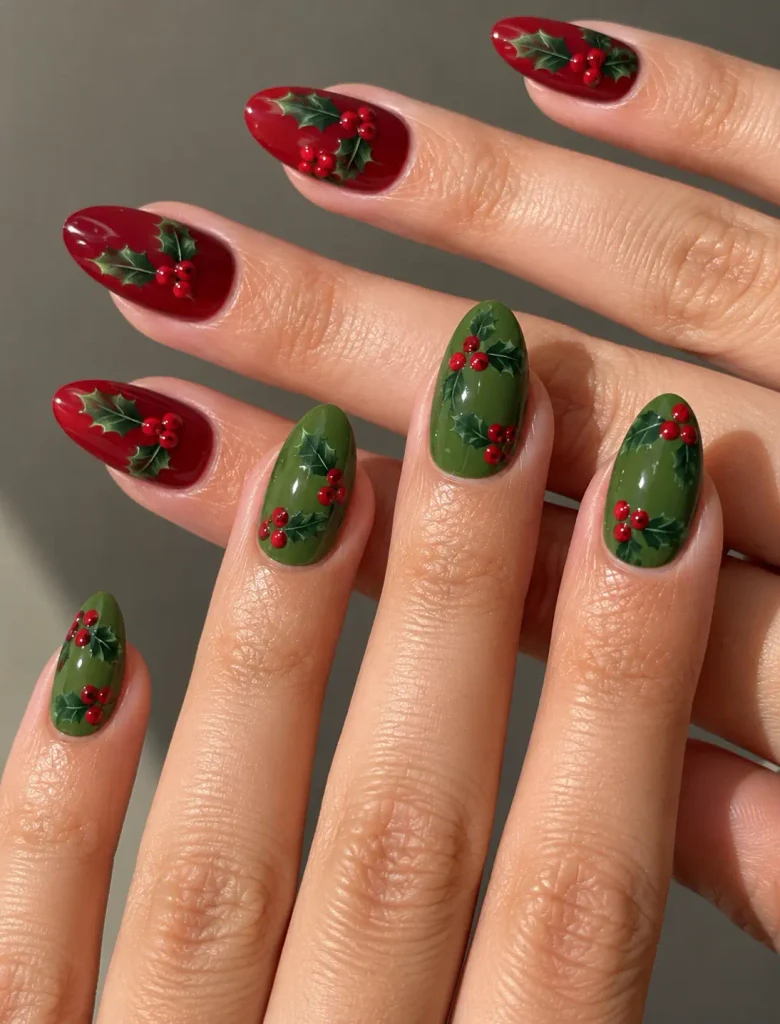
Turn the color combination into a small botanical design by pairing red berry-like dots with tiny green leaves. A milky white or sheer nude base provides space for the details to remain visible.
Keep the leaf motifs on one or two accent nails and use simple dots elsewhere.
This creates a recognizable holly-inspired pattern without making every nail look crowded.
12. Alternating Red and Green Nails With Dotted Accents
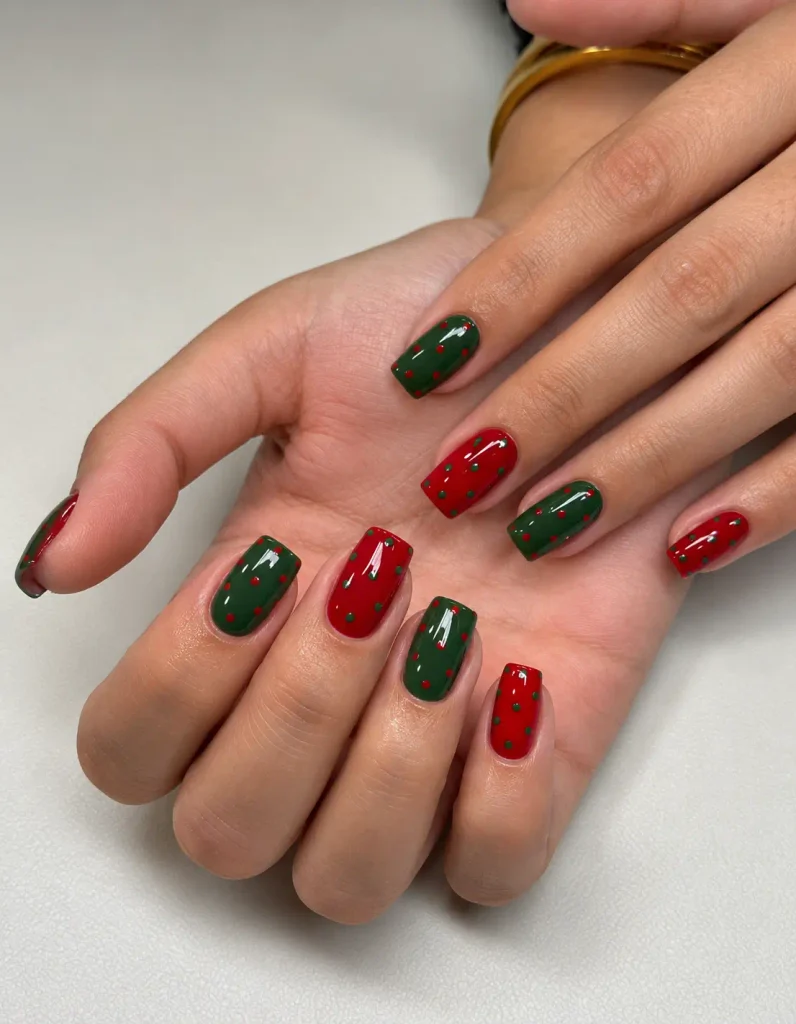
Paint some nails solid red and others solid green, then add polka dots to just one or two accent nails. A cream accent nail with both colors ties the manicure together.
This design relies on color blocking rather than an all-over dotted pattern.
It is a practical choice if you like bold polish colors but prefer to keep detailed nail art to a minimum.
13. Sage Green Nails With Tiny Cherry-Red Dots
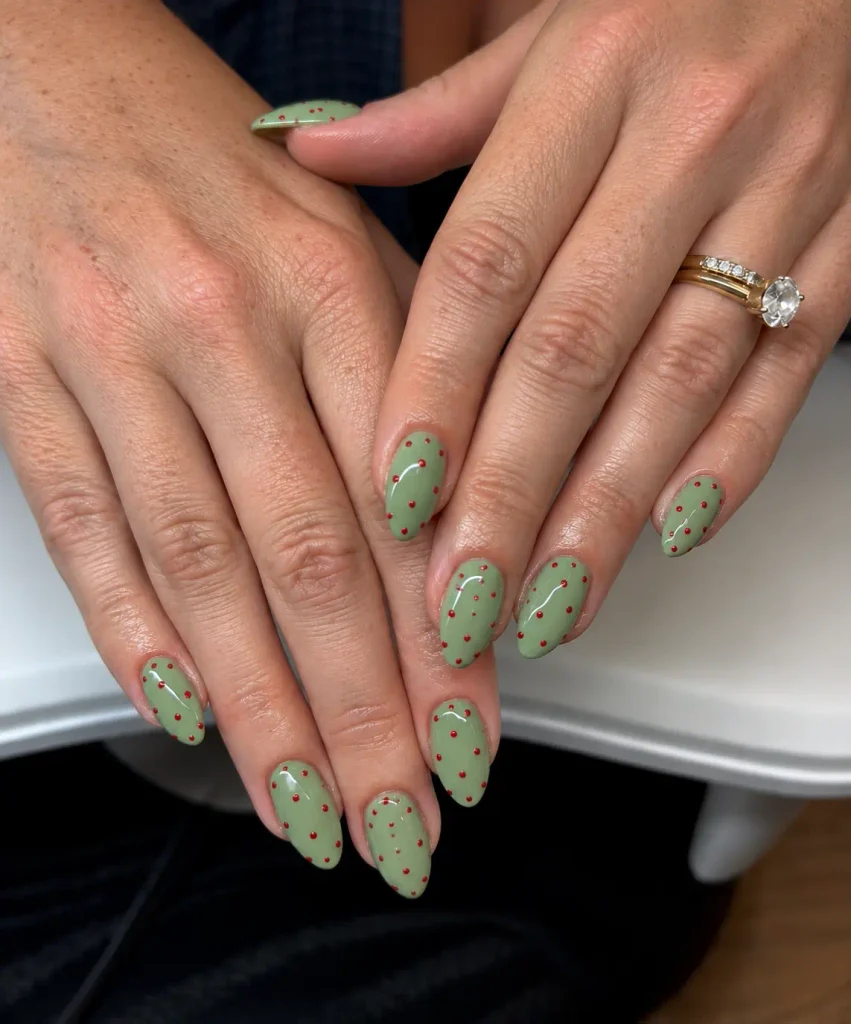
Muted sage green offers a softer alternative to deep emerald or forest green. Place tiny cherry-red dots across the nails, keeping them small enough to preserve the calm appearance of the base color.
The muted green and brighter red create contrast without the intensity of two deeply saturated shades.
A satin or glossy top coat works well, depending on whether you prefer a subtle or more reflective finish.
14. Matte Green Nails With Glossy Red Polka Dots
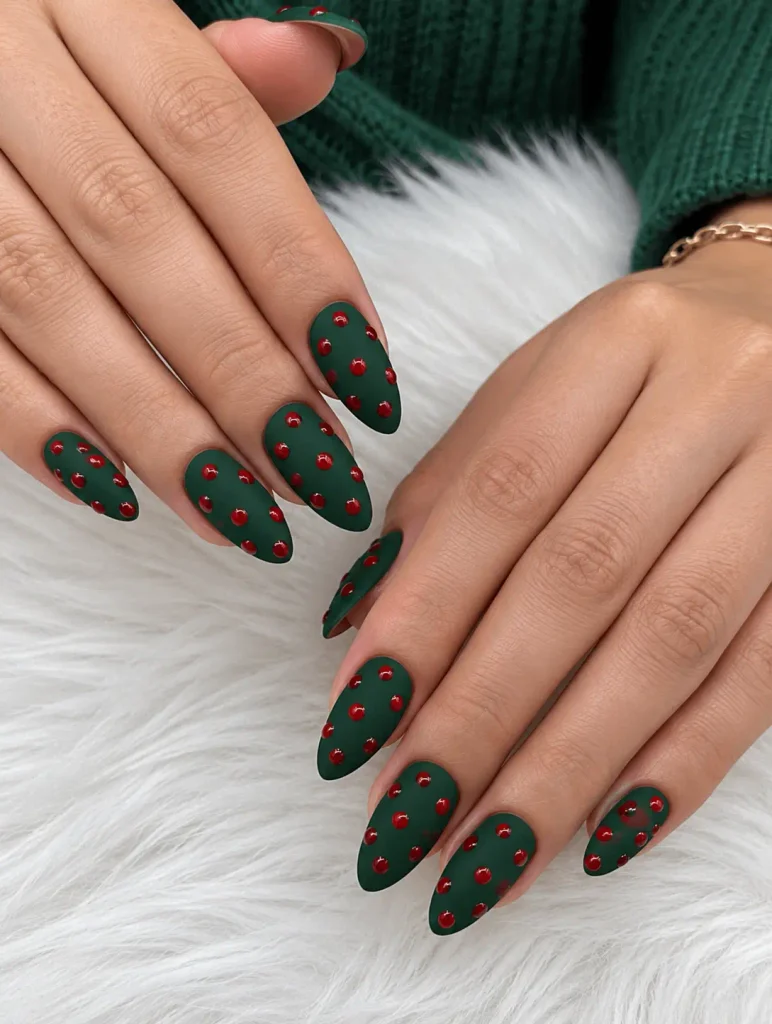
Use matte green polish as the base and add red dots finished with a glossy top coat. The difference in texture makes the dots stand out even when the colors are relatively dark.
For the cleanest result, allow the matte layer to dry completely before applying the glossy details. This manicure is all about the contrast between finishes, so additional glitter or embellishments are unnecessary.
15. Red and Green Polka Dots With Tiny Floral Details
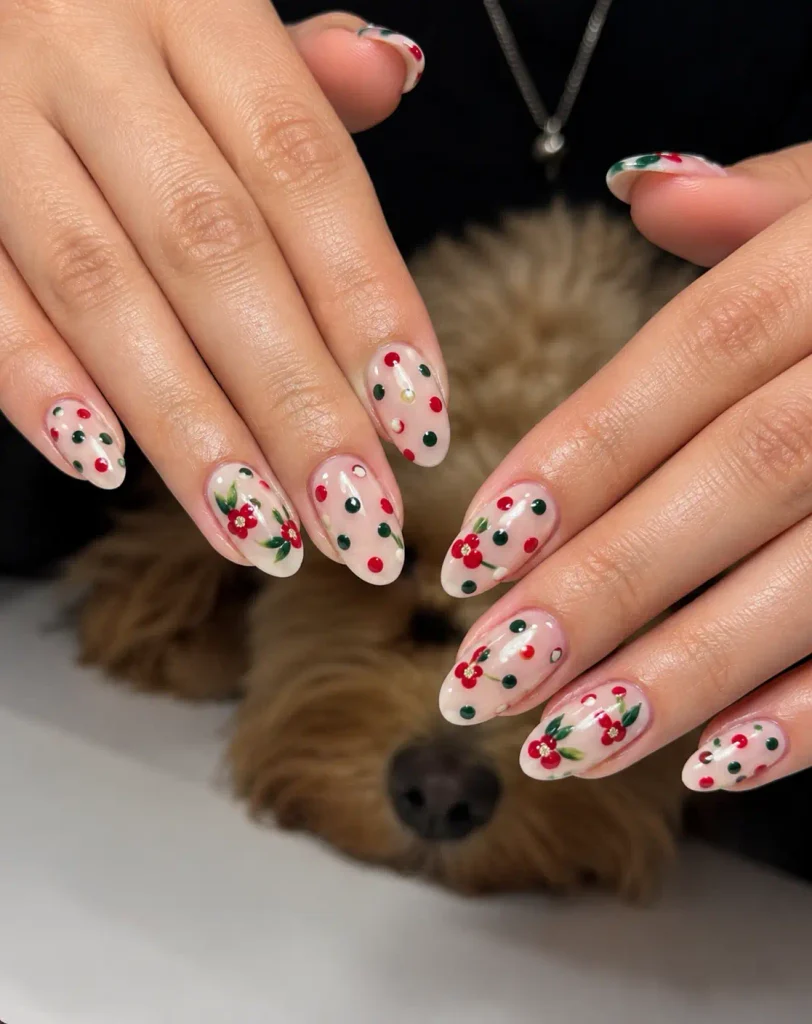
Combine classic dots with miniature flowers for a more intricate manicure. Use red and green dots as the main pattern, then add a few tiny flowers with contrasting centers on selected nails.
A pale cream or blush base helps the small motifs remain distinct. Keep the flowers limited to accent nails so the design retains the simplicity of polka dots rather than becoming an all-over floral pattern.
16. Mixed-Size Red and Green Polka Dot Nails
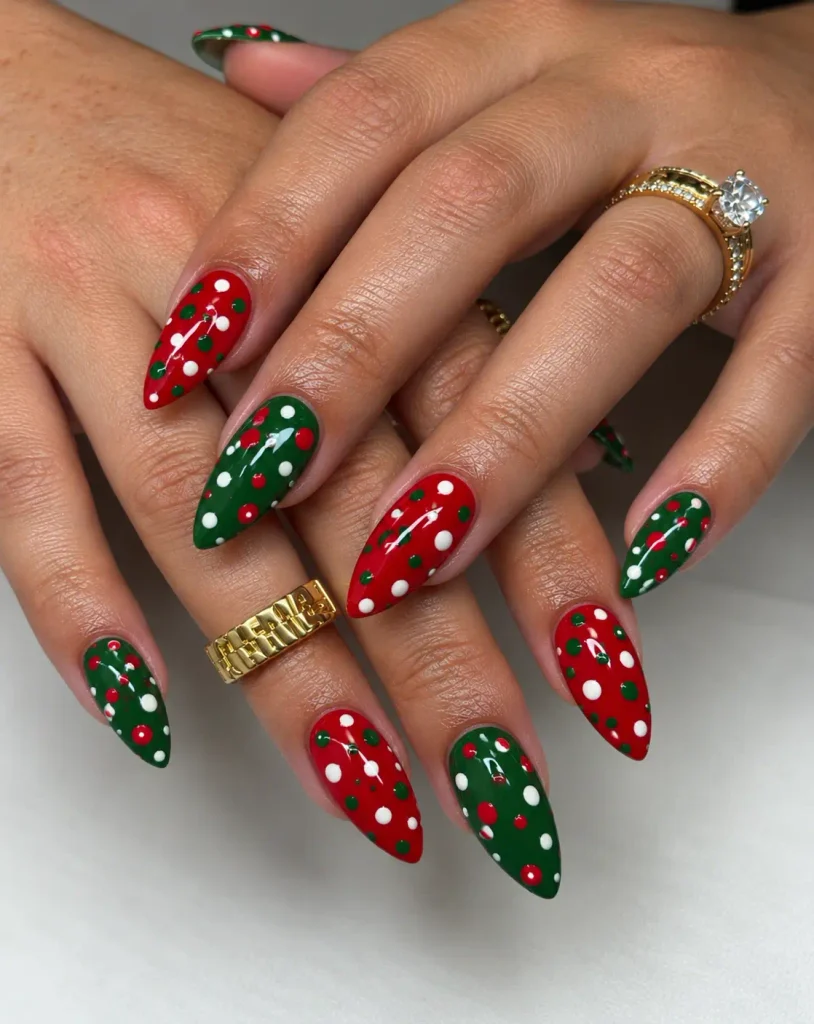
Create a deliberately varied pattern using tiny dots alongside medium-sized circles. Distribute the two colors across each nail, making sure the larger dots have enough space around them.
The different sizes create visual rhythm without requiring diagonal lines, oversized retro circles, or a scattered confetti effect. A plain, light-colored base gives every dot a clear outline.
17. Scattered Red and Green Confetti Nails
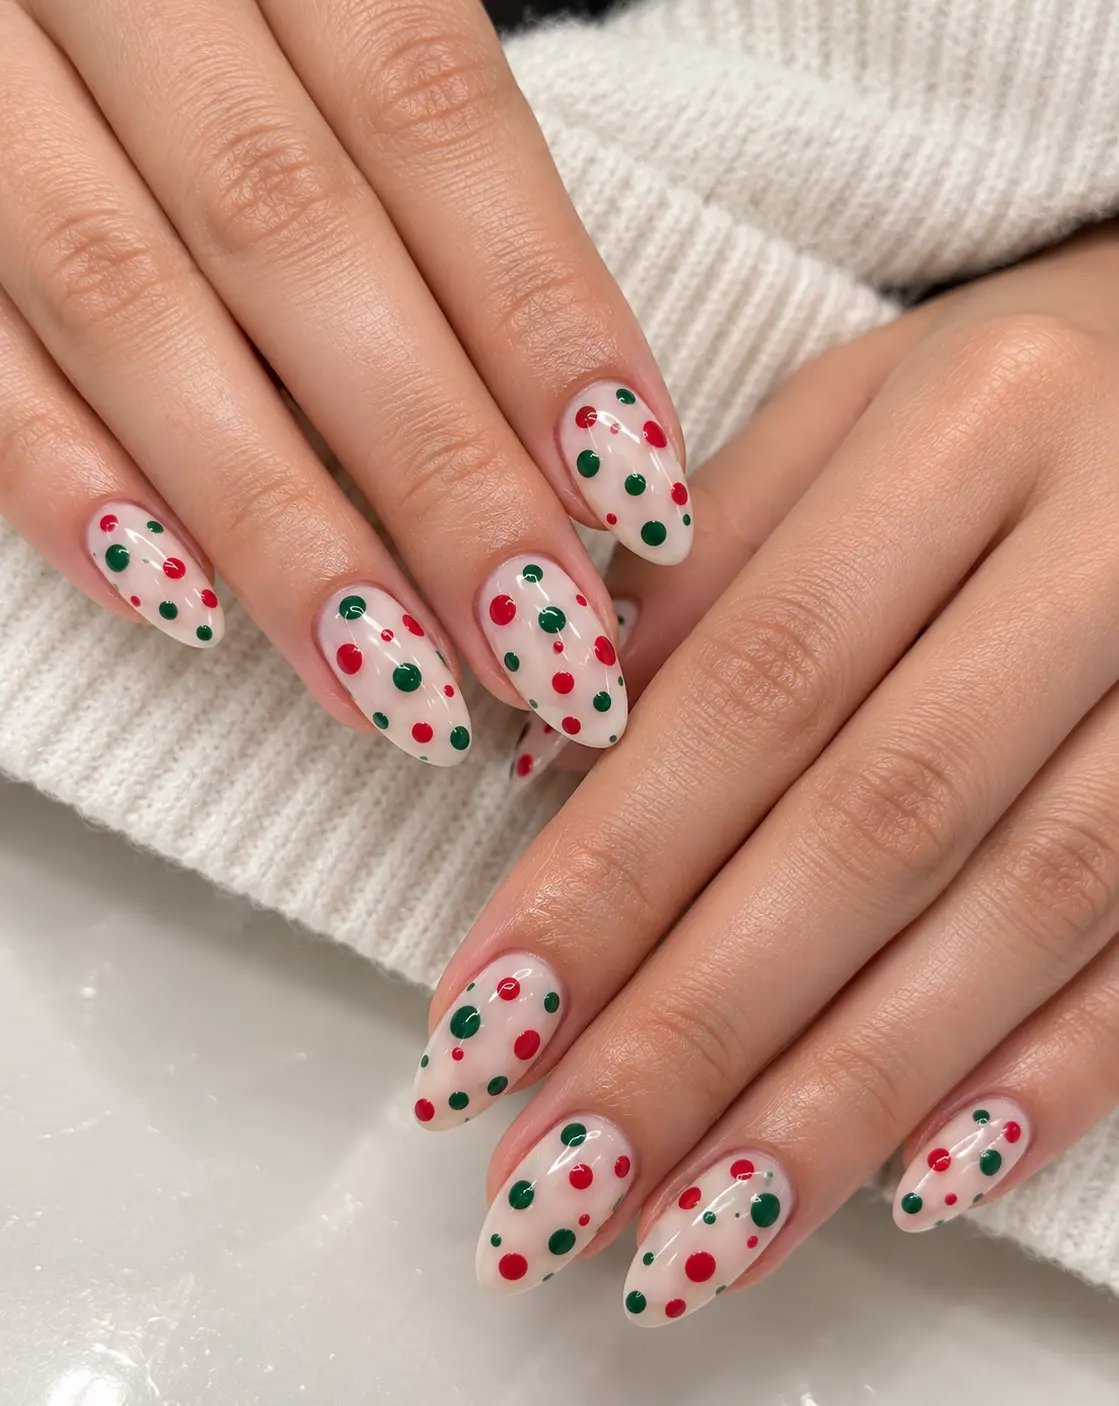
For a loose, playful finish, scatter red and green dots across a transparent or milky base.
Vary their placement from nail to nail instead of following a strict grid or repeating the same arrangement.
The scattered pattern resembles colorful confetti, giving the manicure a lively finish. A few tiny dots near the cuticle and larger ones toward the tips can help the design feel balanced while retaining its relaxed appearance.
How to Create Red and Green Polka Dot Nails at Home
You don’t need elaborate nail-art equipment to make a simple dotted manicure. A dotting tool is helpful, but a clean bobby-pin tip or toothpick can work for basic designs.
- Prepare your nails. Shape them, gently push back the cuticles, and clean the nail surface.
- Apply a base coat. This helps protect the natural nails and gives the polish a smoother surface.
- Add your background color. Apply one or two thin coats, allowing each coat to dry before continuing.
- Create the dots. Dip your dotting tool into red or green polish and place each dot with a light touch. Reload the tool as needed to keep the circles consistent.
- Let the design dry. Wait until the dots are set before applying the top coat to reduce smudging.
- Seal the manicure. Apply a clear top coat for a smooth finish and longer-lasting shine.
For the neatest results, practice dot sizes on paper first. Wipe the tool between colors, and avoid picking up too much polish at once.
Final Thoughts
Red and green polka dot nails can look retro, understated, festive, or modern depending on the base color, dot placement, and finish.
Cream backgrounds offer a classic contrast, while chrome, jelly polish, and matte textures give the combination a different character.
Choose a design that suits your nail length and preferred level of detail. Even a few carefully placed dots can turn a simple manicure into something distinctive.
FAQs About Red and Green Polka Dot Nails
Are red and green polka dot nails only for Christmas?
No. Forest green and cherry red can create a festive manicure, but sage green, sheer nude bases, minimalist dots, and French tips work throughout the year. The finish and pattern determine how seasonal the design feels.
What colors go well with red and green polka dot nails?
Cream, milky white, blush pink, nude, and transparent bases complement red and green particularly well. Gold details can add warmth, while a dark green base creates a deeper, more dramatic look.
Are polka dot nails easy to do at home?
Yes. Basic polka dot nail art requires only polish, a base coat, a dotting tool or suitable alternative, and a top coat. Simple patterns are easier to create than tiny flowers or intricate diagonal arrangements.
Do red and green polka dot nails look good on short nails?
Absolutely. Small dots, micro-dot patterns, and sparse arrangements suit short nails without overwhelming them. Keep the details proportionate to the nail surface for a tidy result.
How can I make polka dot nails look neat?
Use a dotting tool that matches your preferred dot size, apply similar amounts of polish to each dot, and allow the pattern to dry before sealing it. Leaving enough space between the dots also helps prevent the design from looking crowded.